
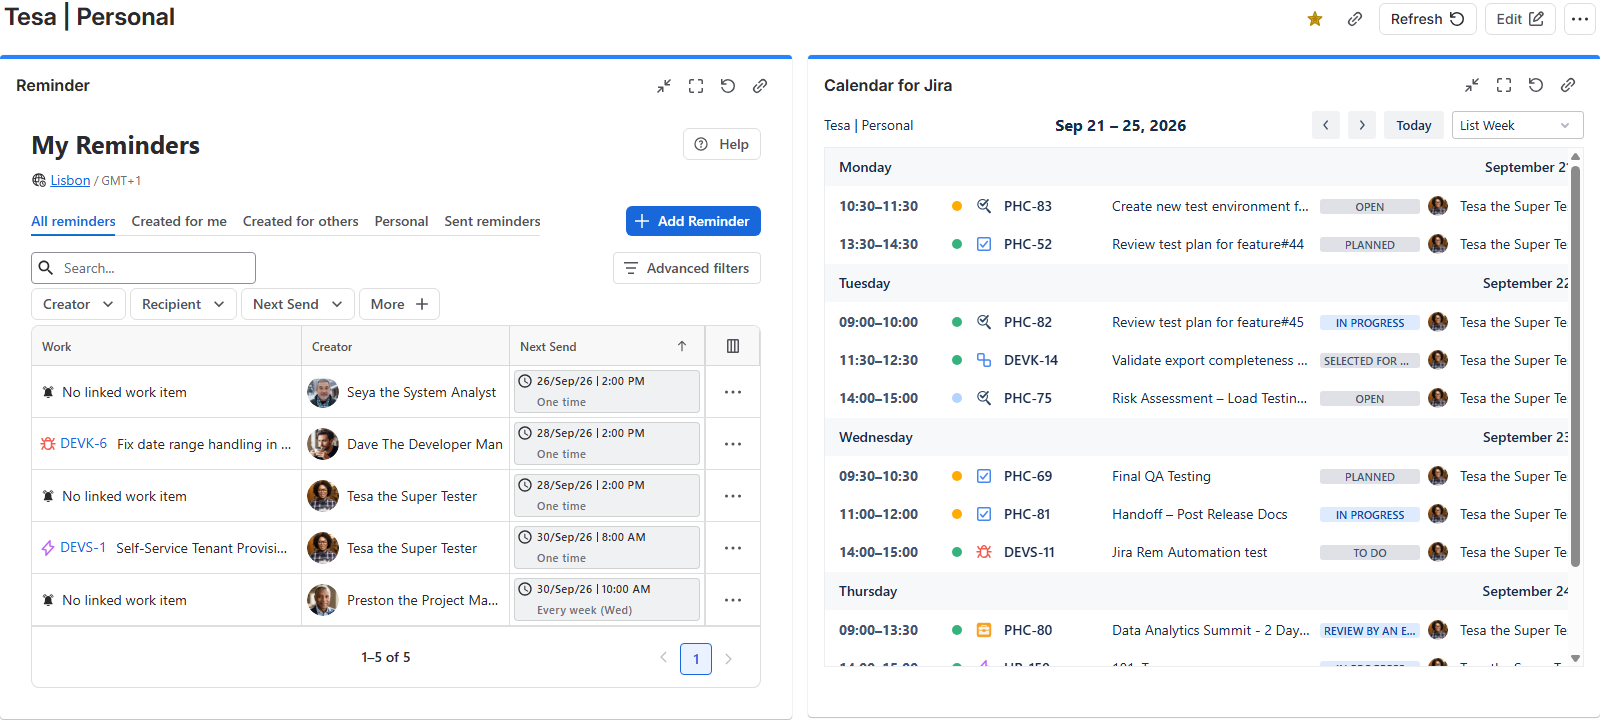
If you prefer to centralize your work tools in one spot, the Reminder for Jira app includes a native Dashboard gadget. The gadget brings the full functionality of the app's main app page directly into your personalized Jira Dashboards.
Navigating to Jira Dashboards
-
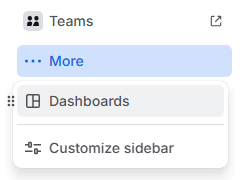
Click Dashboards in the left sidebar.
-
Tip: If Dashboards is not visible in your main navigation, click More (...) to expand additional menu items.
-
-
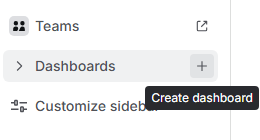
Select an existing dashboard from your list, or click Create dashboard (+) to build a new one.
-
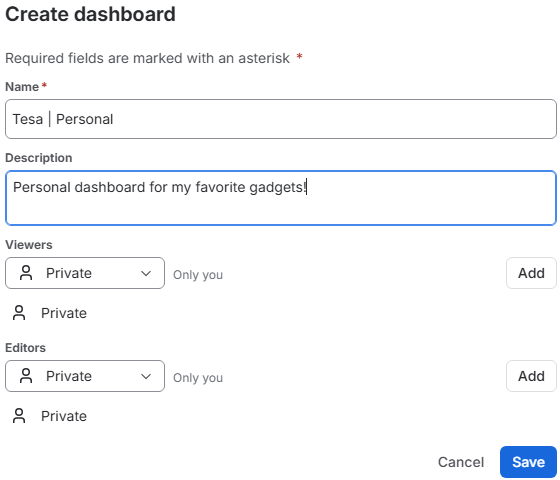
New Dashboards only: Enter a Name, configure your visibility and view/edit permissions, then click Save. You will be automatically redirected to the dashboard customization screen.
-
Already existing Dashboards: once you opened the Dashboard of your choice, in the top-right corner click Edit.
-
Configuring the dashboard layout
For the best experience, we recommend using a wider layout—such as a two-column (2:1 ratio) or a single-column layout—so the reminder data grid has ample room to display all table columns clearly:
-
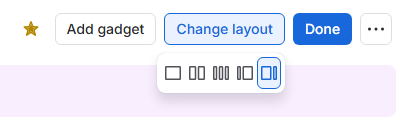
Click Change layout in the top-right corner of your dashboard screen.
-
Select your preferred column structure (e.g., full width or wide primary column).
Adding & positioning the Reminder gadget
-
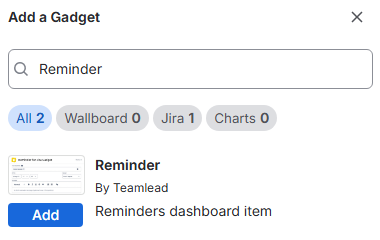
In the Add a gadget sidebar on the right side of your screen, type Reminder into the search bar.
-
Locate Reminder for Jira (by Teamlead) in the search results and click Add.
-
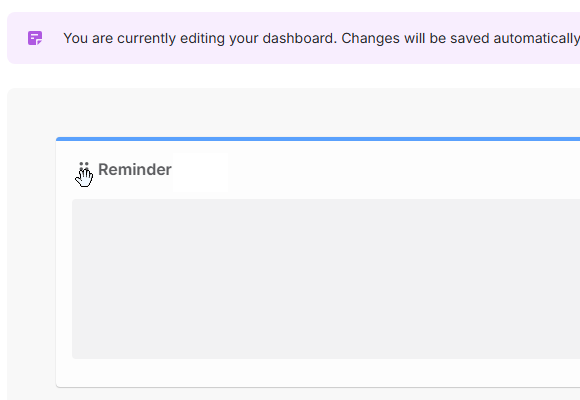
The gadget will populate the first open slot on your dashboard layout. To reposition the gadget, click and hold the gadget's top-left corner handle, then drag it to your desired column or position:
-
Once you are satisfied with the dashboard’s configuration, click Done in the top-right corner of the screen to save your layout settings.
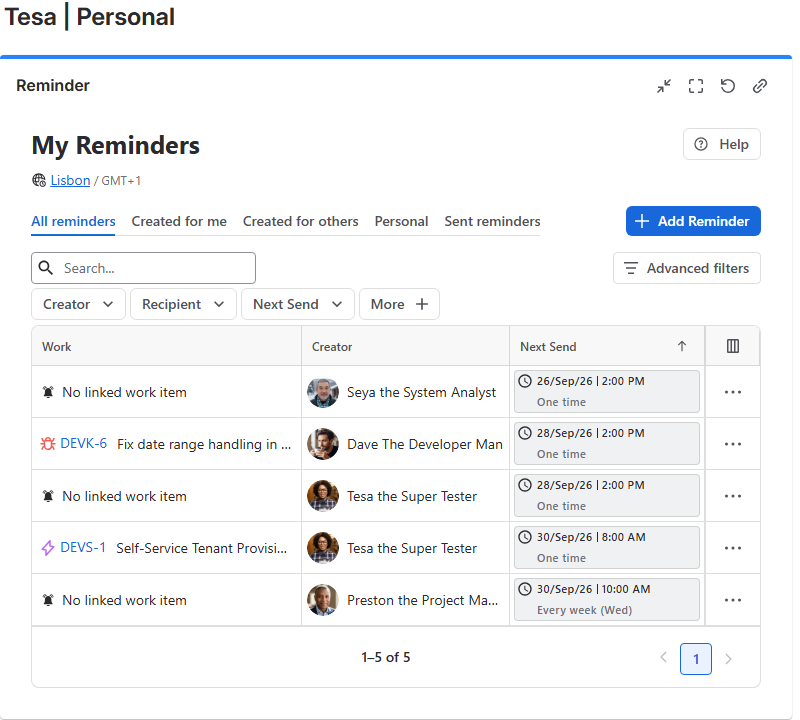
Congratulations! You now have full access to your reminders, filtering tools, and grid views right from your personalized Jira Dashboard.
Stay informed
Subscribe to get the latest updates and explore new product capabilities