
The Child Rems feature allows you to quickly generate, manage, and remove reminders across multiple child work items directly from a single parent work item.
Child reminders interface overview
To open the bulk configuration window:
-
Navigate to the parent work item.
-
In the issue's context panel, click Reminder.
-
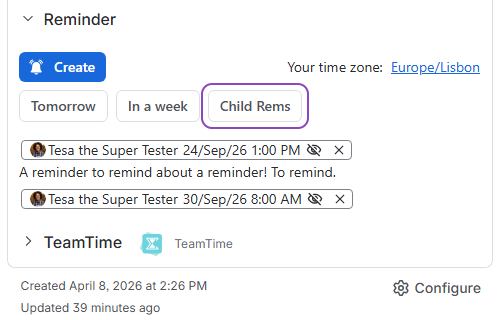
Click the Child Rems button to open the management window:
Interface components & fields
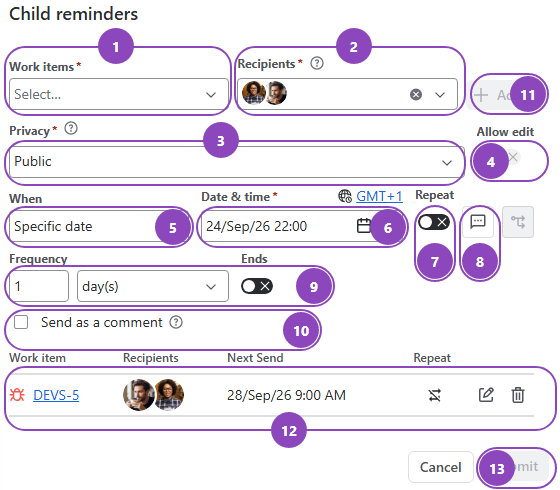
Let’s have a quick look of what we have here:
-
Work items: Specifies which child work items will receive the configured reminder (a checkbox list).
-
Recipients: Defines who will receive the reminder (individual users, yourself, or user groups, if you have the permission for it).
-
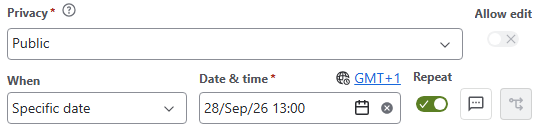
Privacy: (Appears when selecting recipients other than yourself) Toggles whether the reminder is Private or Public.
-
Allow edit: For private reminders, grants recipients permission to modify or delete the reminder.
Note: For public reminders, editing rights require Space-level permissions unless you created the reminder.
-
When: Controls the triggering condition. (Currently set to Specific Date; due date-based options will be available in future releases).
-
Date & Time: Specifies the exact timestamp when the reminder will trigger.
-
Repeat: A toggle which enables or disables recurring schedules.
-
Frequency: (Appears when Repeat is enabled) Adjusts how often the reminder repeats (daily, weekly, monthly, yearly) and sets an optional end date.
-
Message: Adds descriptive text (up to 255 characters) to all generated child reminders.
-
Send as сomment: Automatically posts a public comment on each child work item on the trigger date.
Note: Comments in Jira Service Management (JSM) projects are always public.
-
Add: Adds the current reminder configuration to the staging queue list.
-
Child reminders: Where created child reminders are listed.
-
Submit: Commits all staged reminder creations, edits, or deletions.
Creating child reminders in bulk
Creating child reminders is a two-step staging process: you configure and add reminders to a queue list, then submit them together.
-
Open the Child Rems window from the parent work item's context panel.
-
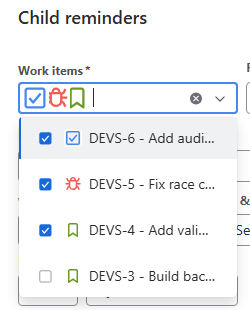
In the Work item field, select the child works you want to target:
-
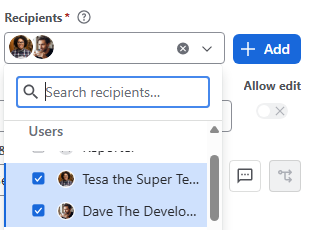
In the Recipients field, select the users or groups who should receive the reminder:
-
Set the Date & Time, recurrence schedule, and optional message.
-
Configure privacy and comment settings if needed:
-
Click Add in the top-right corner. This adds the configured items to the Staging Queue List (reminders are not created in Jira yet).
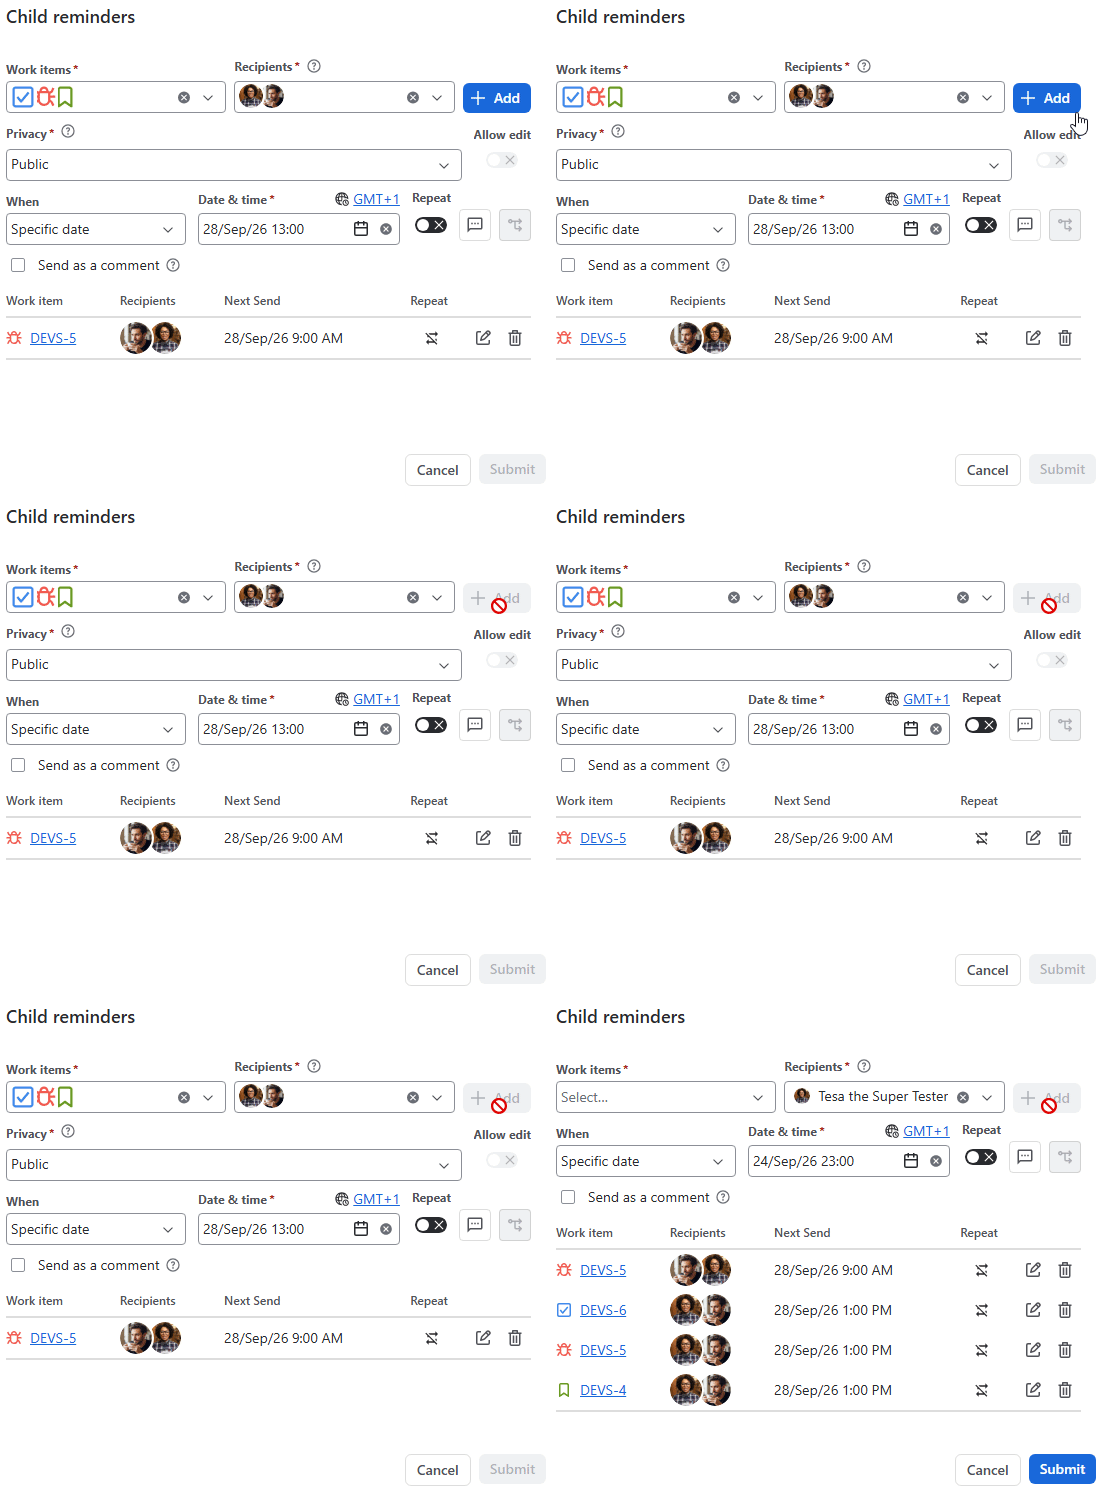
-
(Optional) Repeat steps 2–6 if you need different reminder schedules for other child work items under the same parent.
-
Once all desired reminders are listed in the queue, click Submit in the bottom-right corner to create all standalone child reminders:
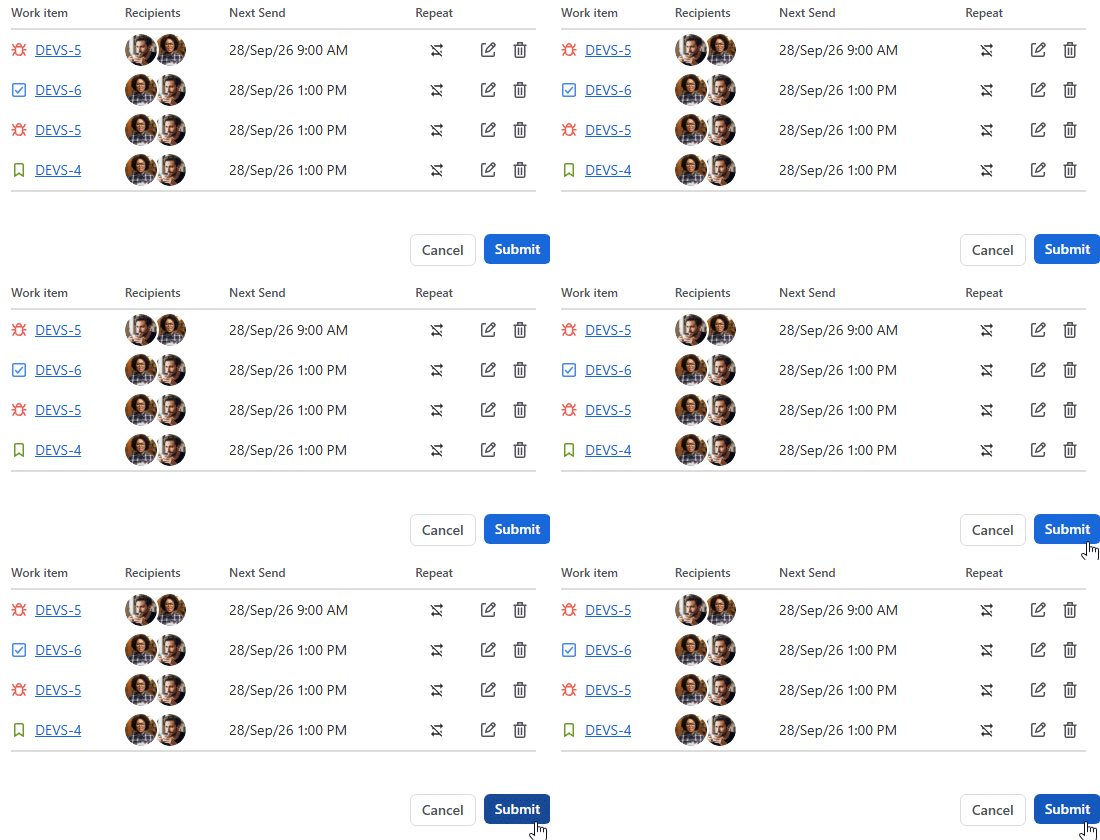
Editing child reminders via the Child Rems window
Note: Once created, child reminders become standalone reminders. You can edit them individually via the main app page or the child work items themselves. However, editing them via the parent item is often faster.
-
Open the Child Rems window from the parent issue.
-
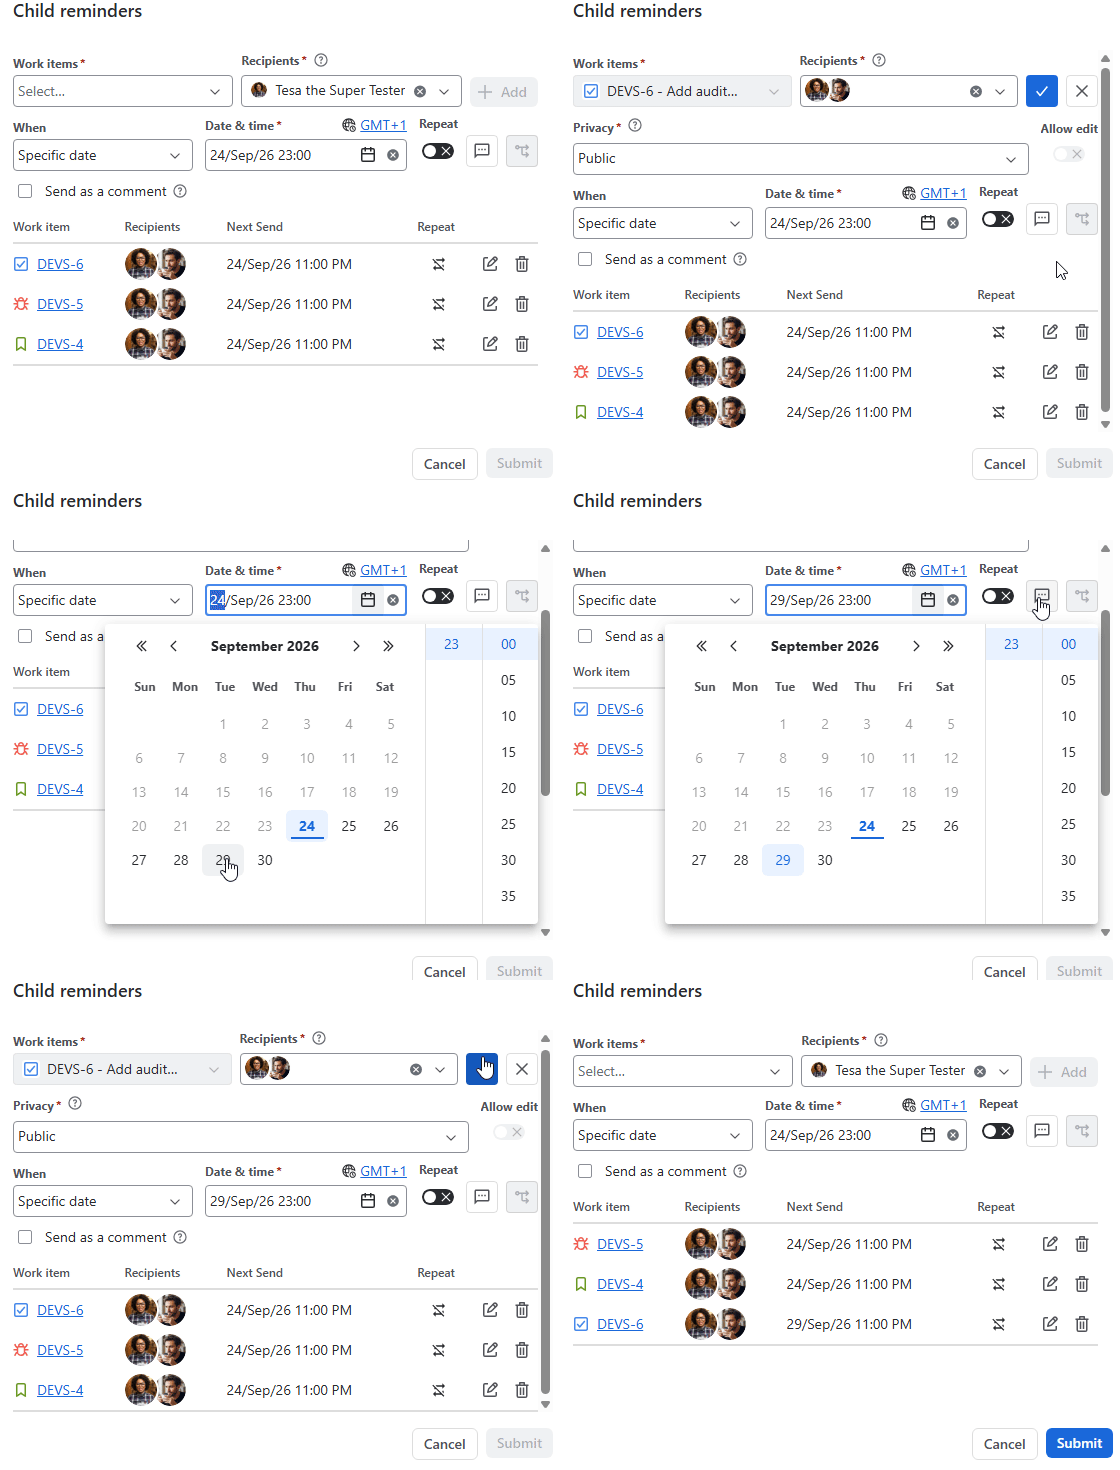
In the list of existing child reminders, locate the reminder you want to modify and click Edit button (pencil icon) on the right side of its row.
-
The targeted child work item field will lock, allowing you to update the schedule, recipients, or message specifically for that item.
-
Click Confirm (checkmark button) to accept the field changes, or Cancel to revert them:
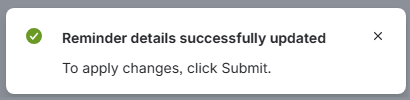
Every time you update a reminder within the Child Rems window, a notification will appear:
-
Click Submit in the bottom-right corner to save and apply all updated child reminders.
Deleting child reminders
-
Open the Child Rems window from the parent work item.
-
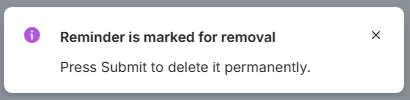
Locate the reminder row you want to remove and click Delete on the far right. The row will disappear from the list immediately.
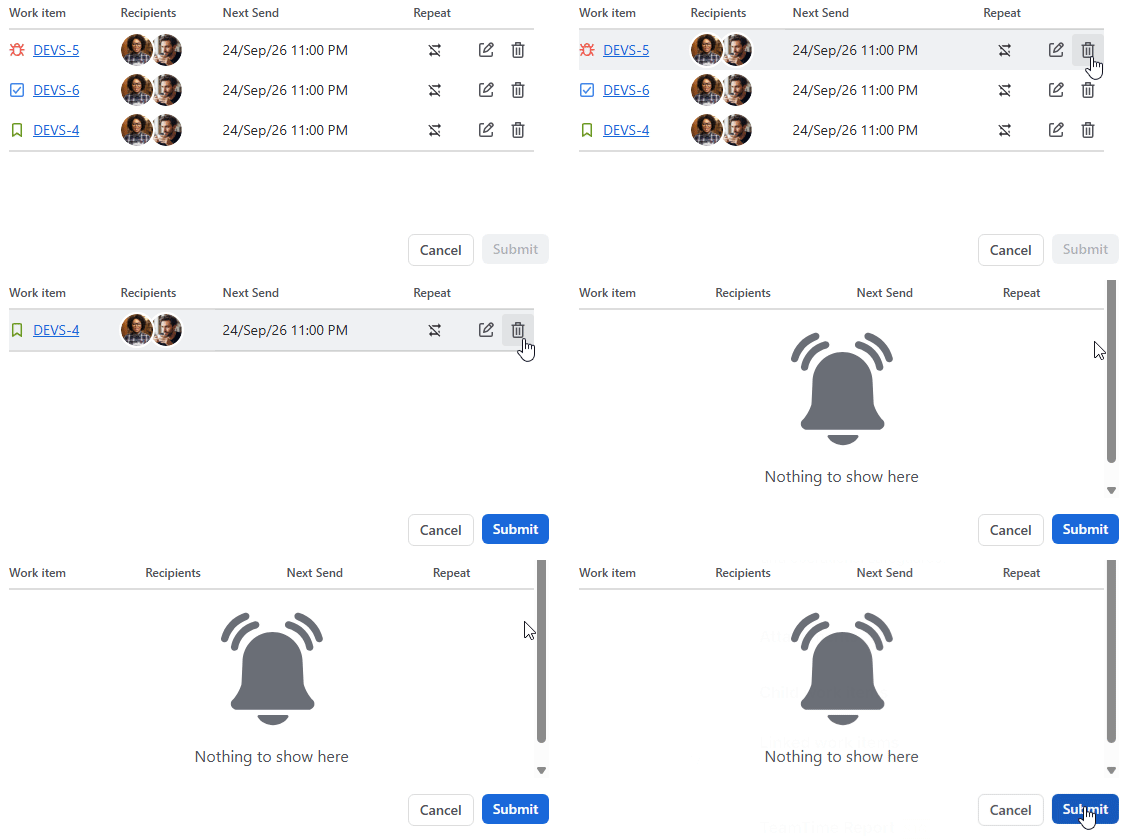
Every time you delete a reminder row, a message will appear:
-
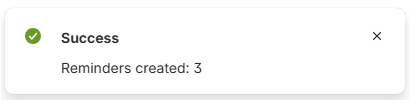
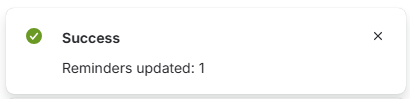
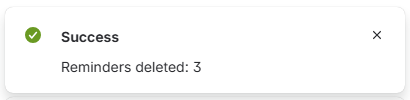
Click Submit in the bottom-right corner to confirm and execute the deletion. Once you do, a success notification will be shown:
Tip / Undo: If you accidentally delete a row from the list, do not click Submit. Simply click Cancel or close the window to discard your unsaved changes and preserve your existing reminders.
Stay informed
Subscribe to get the latest updates and explore new product capabilities