CRM Directories can be configured according to your needs.
The basic configuration principles are the same for all type of directories:
-
the list of tabs for a particular directory entry
-
the list of attributes for the particular tab and their order
-
configuration of the particular attribute (if applicable)
-
specifying the entry card size
See the section below for details.
CRM Entry Structure Setting Up
-
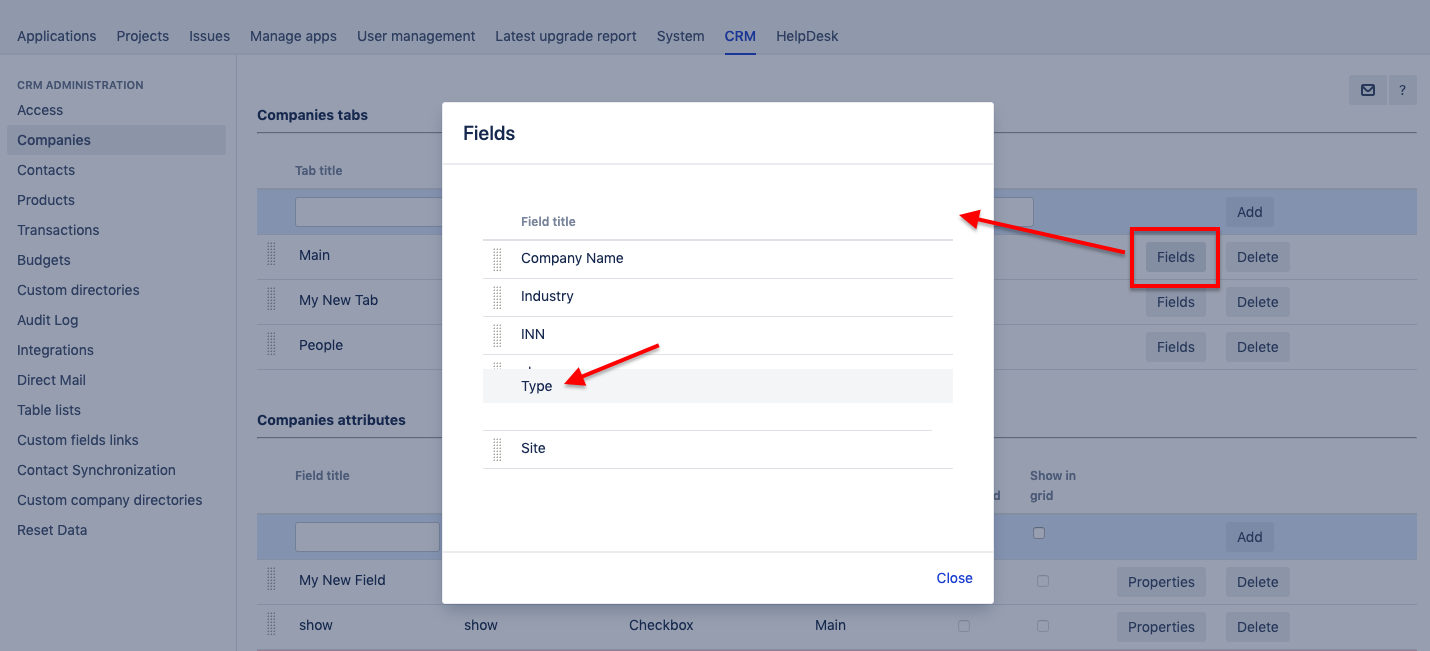
Add a tab.
Navigate to CRM Administration → <required directory> and add a new tab specifying the tab name.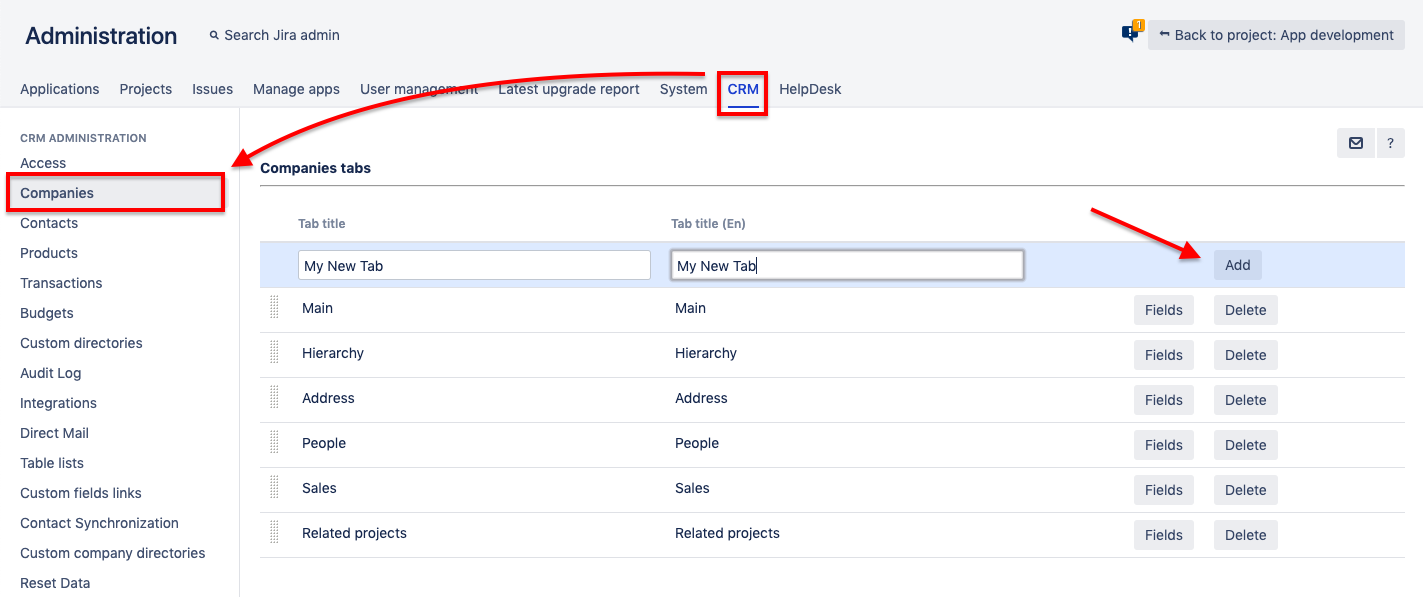
-
Define the tab's order among other ones.
Drag and drop the tab within the list of the tabs to define their order in the entry.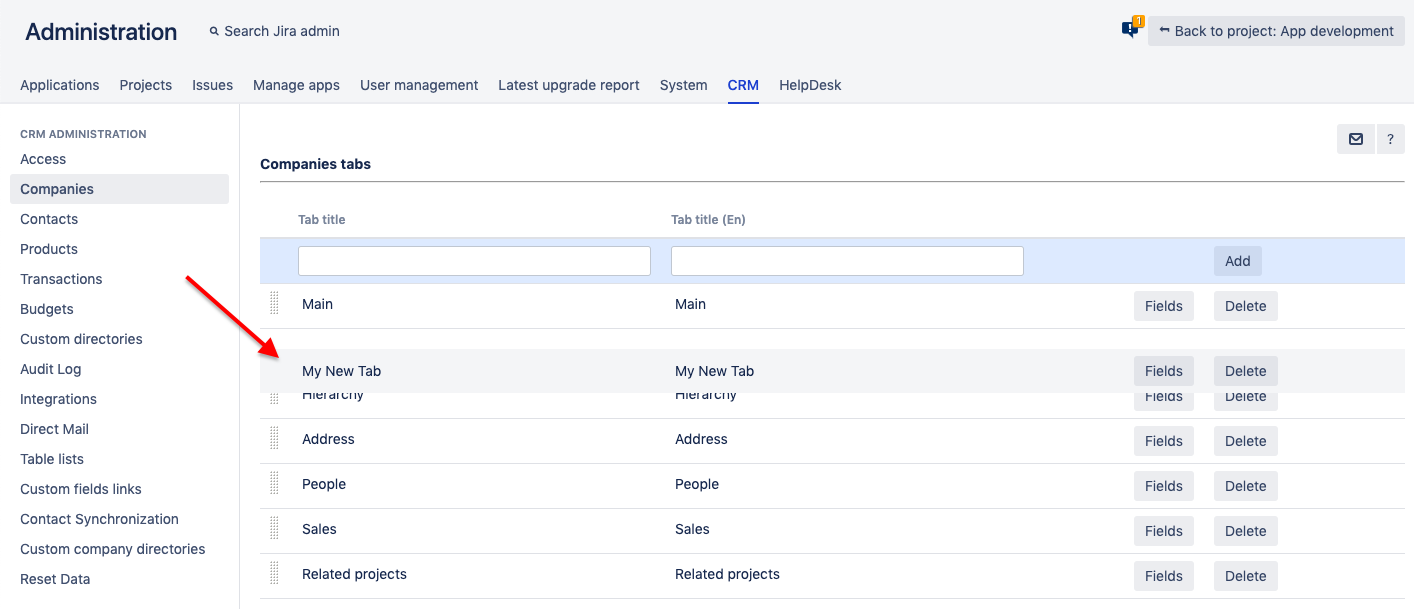
-
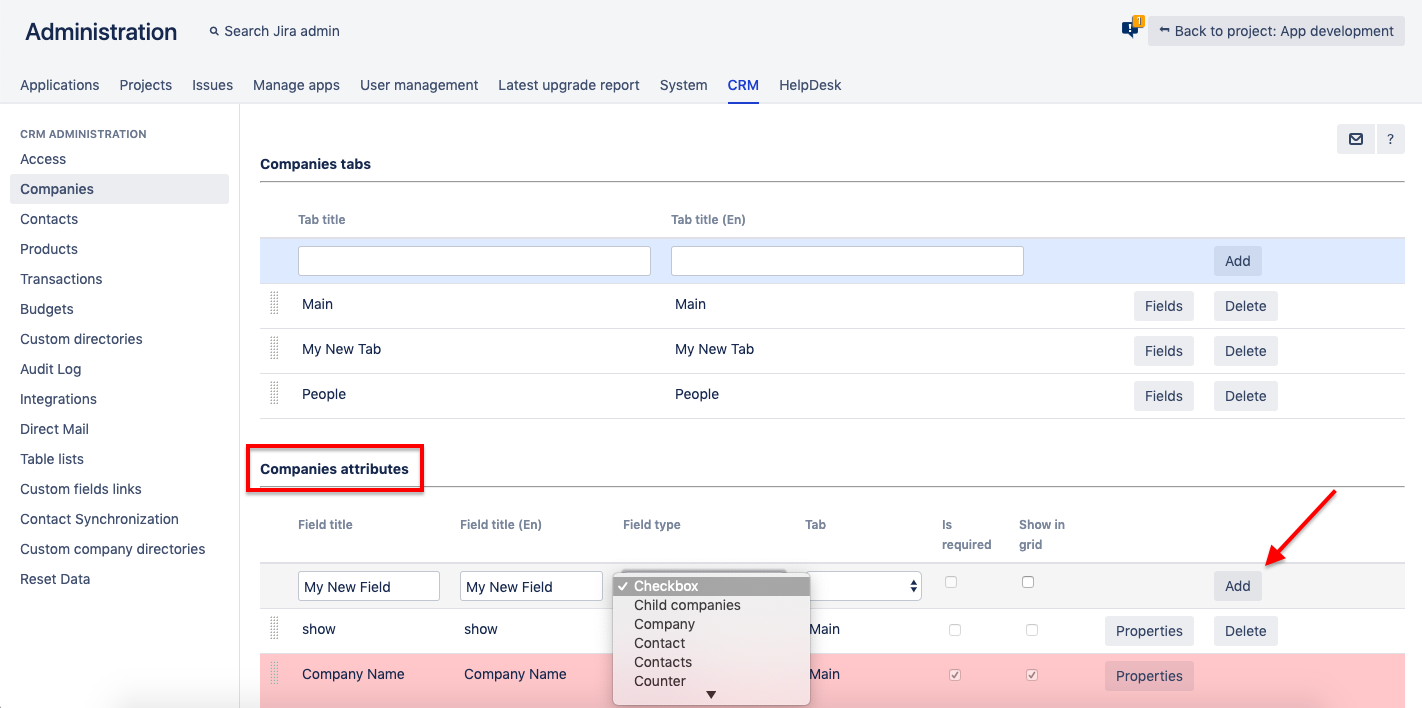
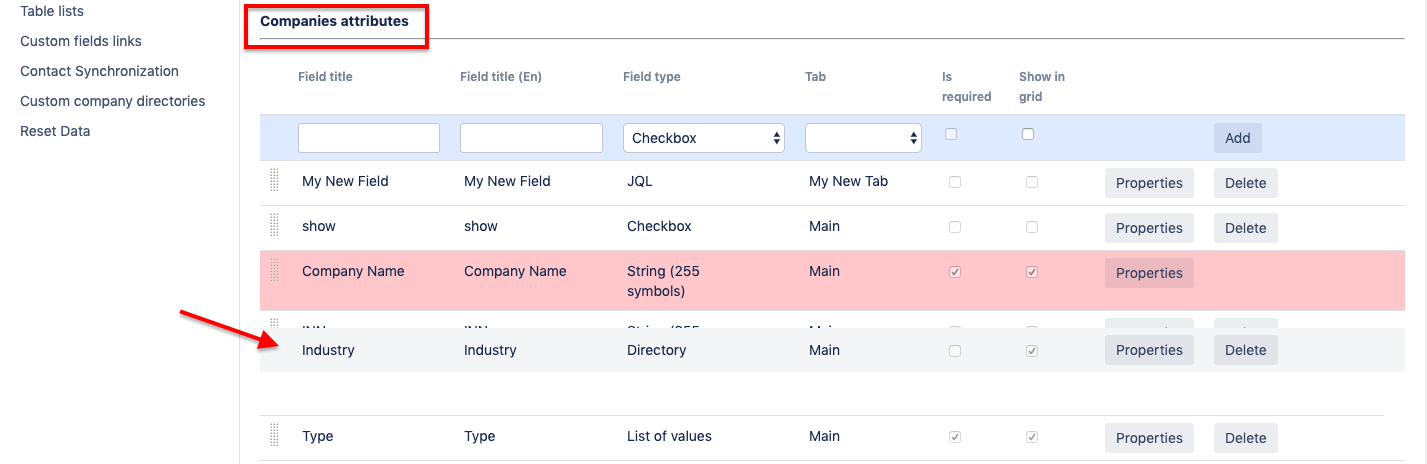
Add the attributes.
You should add an attribute to the list of attributes for the entry specifying its:
-
name
-
tab
-
mandatoriness
-
displaying as a column in the entries grid view
-
-
Configure the attributes.
Specify the attribute properties (if applicable) by clicking the Properties button next to the attribute.
Note that each attribute has a different combination of properties.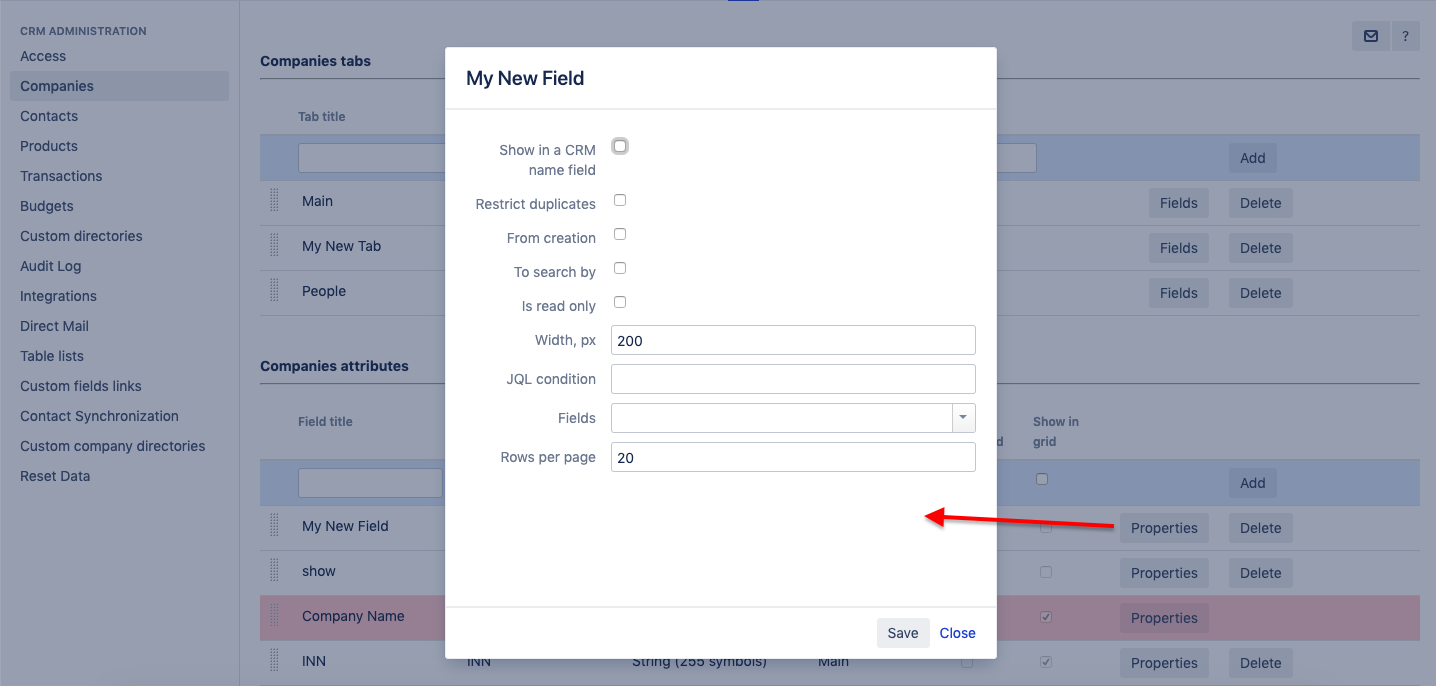
-
Specify the order of the displayed columns within the entries list grid view.
Drag&drop the attributes within the list of attributes.
-
Specify the order of the attributes within a tab.
Push the Fields button next to the tab and drag&drop the tab fields to set their order within an entry tab.
-
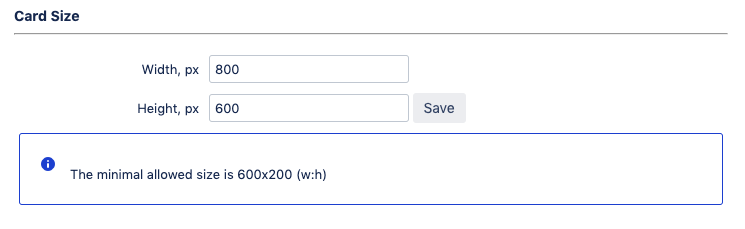
Specify the entry card size.
Your card may contain many attributes. Specify its size to make the card more convenient for users. The minimal allowed size – to find room to all predefined buttons – is 600x200 (w:h)
Directory-Specific Settings
However, there are some extra settings for the predefined directories. See the details in the relevant sections: