.png)
Step-by-Step With Universal Directories
1. Create your first directory
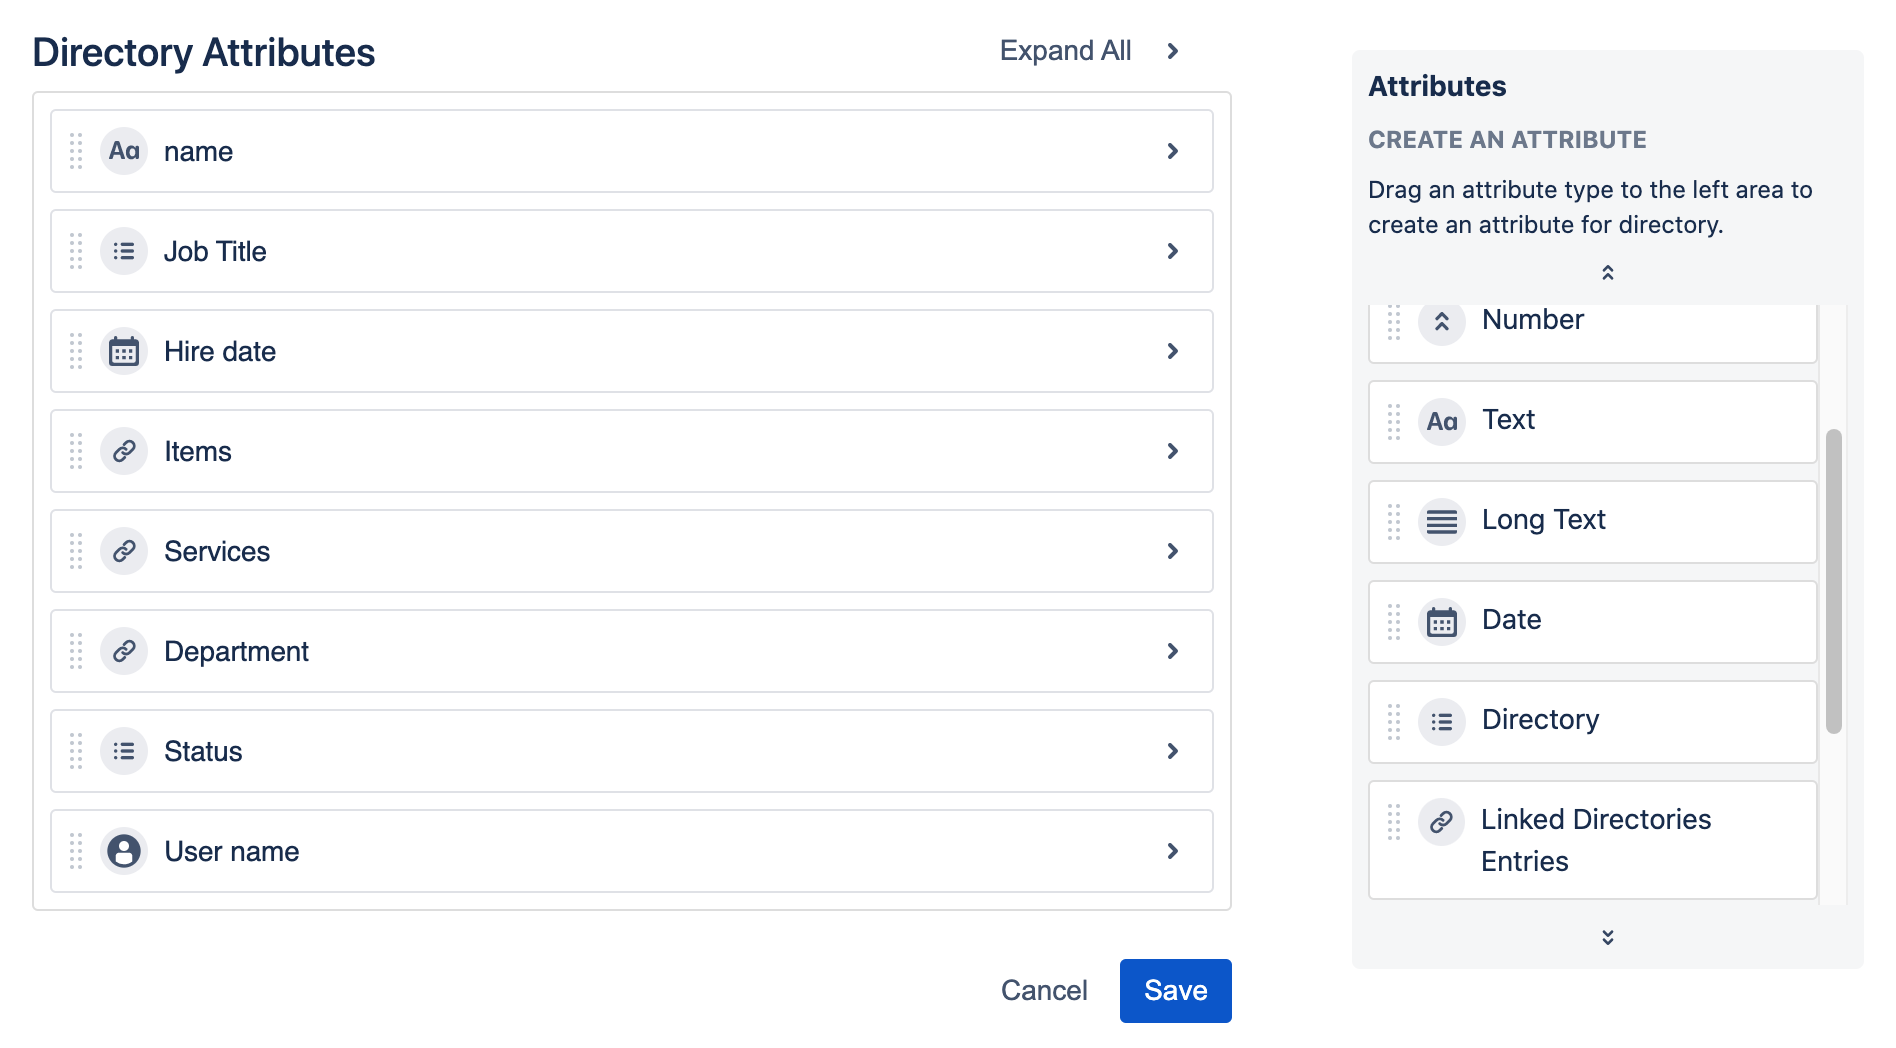
For example, you want to create the Employees database for your HR-department needs. Just start from one main directory and add new ones as soon as they come to mind. What parameters you would like to specify for a particular employee? Check the types of attributes to select a suitable type for each one. Are there any other references like statuses, locations? Create them in the first place.
Employee:
Name (system attribute) – we cannot change this one but you can still add more duplicative parameters if required. For example, put the full name here but the first name and the last name in the separate additional text attributes for the sorting purpose.
Job Title – as a reference, this list should be created in advance. Or, you can add this attribute in the Employee template later when ready.
Country – the same case.
Address – long text will suit
Email – select the email attribute
Hire Date – the date attribute will fit perfectly
Skills – here you can use a text attribute or, in case of targeting some statistics, a referenced directory of skills.
Read: Universal Directories Structure Setup, Attribute Types & Their Characteristics
2. Add objects to your directories
As we are preparing the Employees directory for our HRs, we will not fill it out. However, as Admin we should provide users options for references like Countries so these options will be available within an Employee card.
Navigate to the Countries directory and add there some entries like a regular Universal Directories user. Now there are options to select from, in the Employee card.
Read: Managing Directory Entries
3. Grant your users permissions to work with directories
Speaking of rights in the context of Universal Directories using, there are 3 main user types working with the application:
Universal Directories admin (=Jira Admin) – configures the app, sets permissions, creates directories and their structure. No special permissions required for these users.
Universal Directories users (=Jira users) – Jira users who can work with Universal Directories within the Universal Directories section.
Other users – users with no access to the Universal Directories section. They can be your internal users or customers, they can still work with the Universal Directories custom fields.
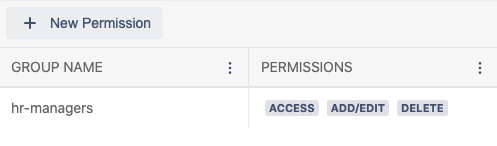
So you should define who should access and manage the Universal Directories entries. Let define that only the hr-managers group should have the access to Universal Directories and permission to add/edit and delete entries.
Read: Permissions
4. Set up linking of Universal Directories objects and Jira issues
If hr-managers need to track the onboarding process for new employees and have a special workflow for that purpose, it will be suitable to expand this process by linking an Employee card to such issues.
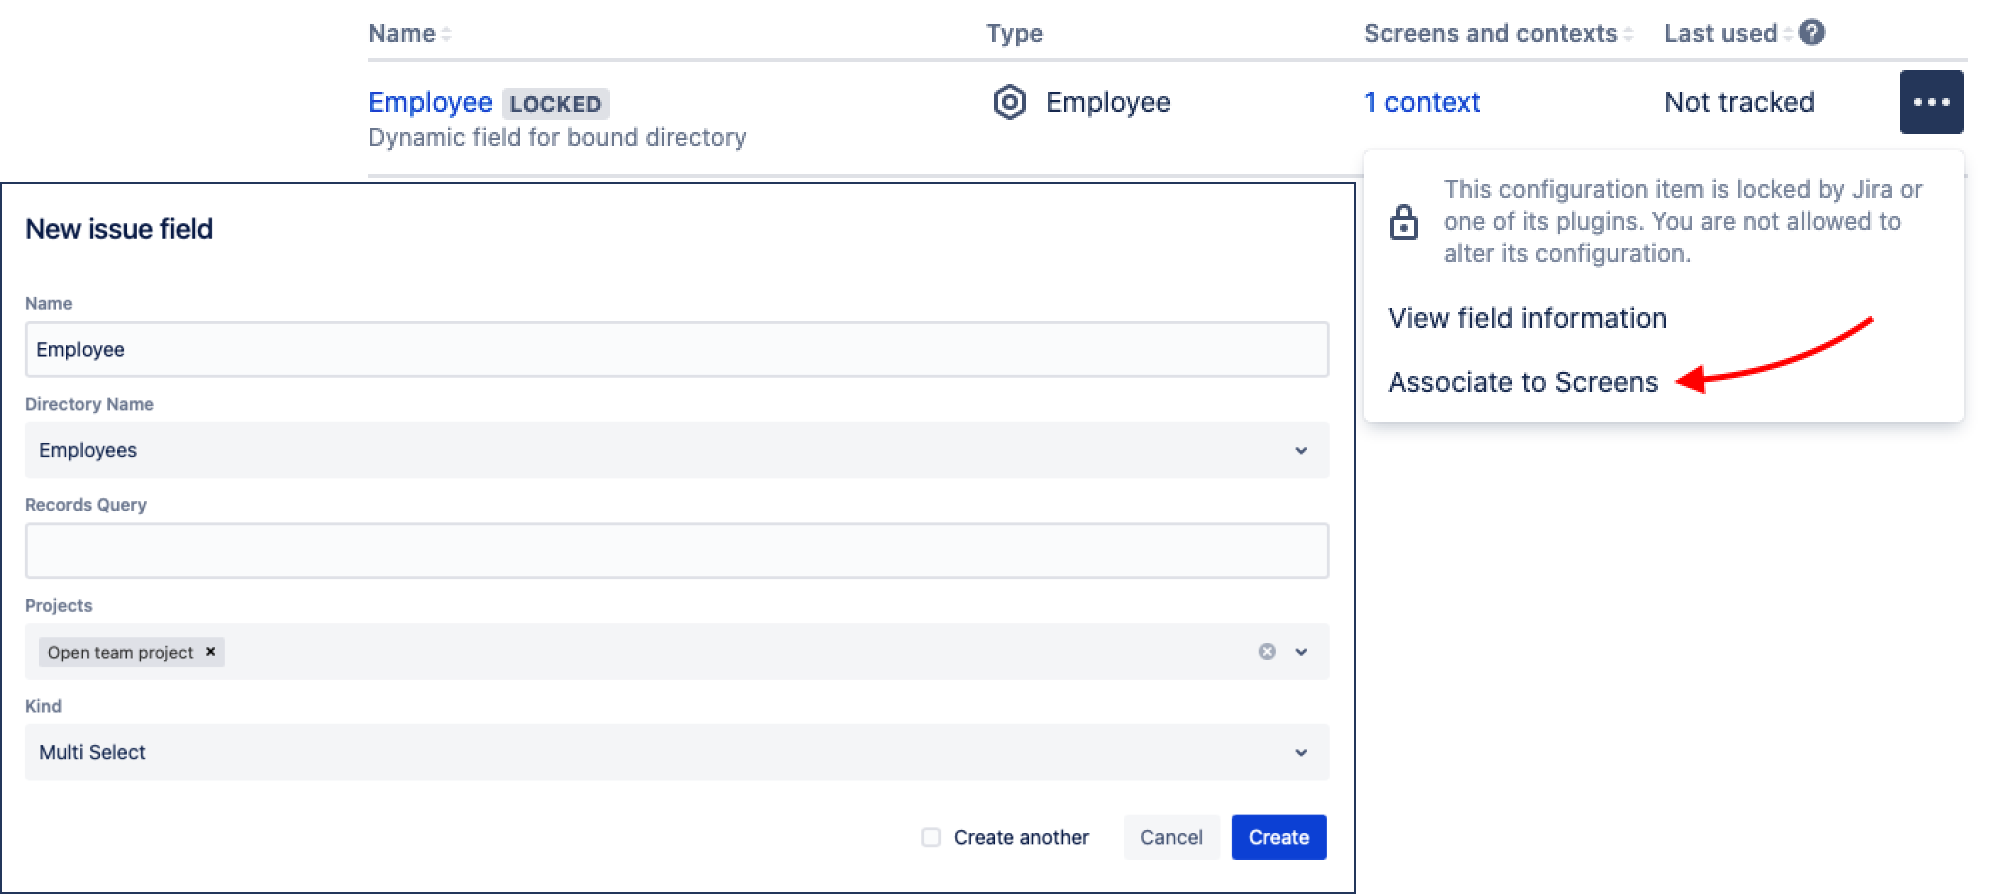
Create an Employee custom field and set it up for selection from the Employees directory. Optionally add a Linked Issues attribute to your Employee template to automatically display the linked issues.
You can link an employee entry to an issue via several fields like Supervisor, Manager, Project Manager, etc. There are settings that allow dividing such links within Universal Directories entries.
Read: Link Issues And Universal Directories Objects
5. Tune reports, gadgets, queues
Display the Universal Directories fields in the dashboard gadgets, queues and anywhere you need this information to be used. Use the JQL to make issue selection according to Universal Directories info.
Set post-functions if required.
Read: Reports, Post Functions