Context configuration allows you to define where TeamTime for Jira is active. By enabling or disabling specific spaces, you ensure that time-tracking and estimation reports are only available in the areas of Jira where they are relevant to your team’s workflow.
Administrative Access Required: Context configuration is restricted to Jira Administrators. If you do not see the App settings option, please contact your Jira System Admin.
Accessing configuration settings
There are two primary ways to access the TeamTime global settings.
Method 1: The Apps sidebar (Direct)
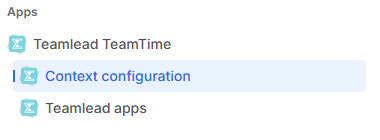
Locate the Apps section in the Jira sidebar on the left side of your screen and click it to view your installed applications.
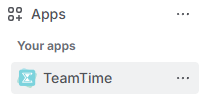
Find TeamTime in the list and hover over the app name. Click the More actions (...) button that appears to the right.
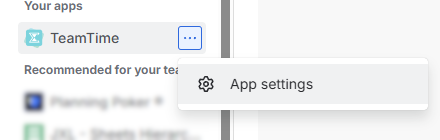
Select App settings from the menu, and you will be taken there.
Method 2: The Manage Apps page
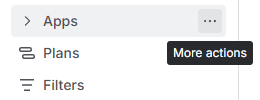
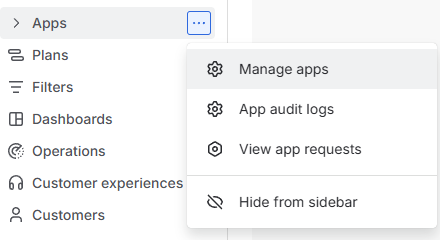
Hover over the Apps section in the Jira sidebar and click the More actions (...) button next to the section header.
Select Manage apps in the pop-up menu that appears.
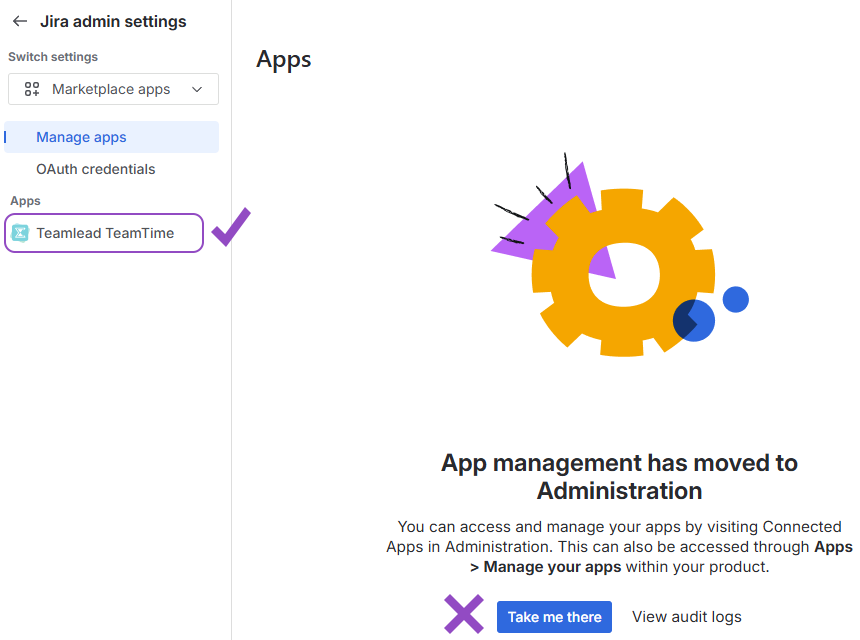
Important: You may see a large warning stating App management has moved to Administration with a button redirecting you. Do not click this button.
Instead, look at the left-hand navigation sidebar. Under the Manage apps section, click Teamlad TeamTime.
Managing space access
Once you have reached the TeamTime settings, navigate to the Context Configuration page.
From here, enabling the app for your projects is a straightforward process.
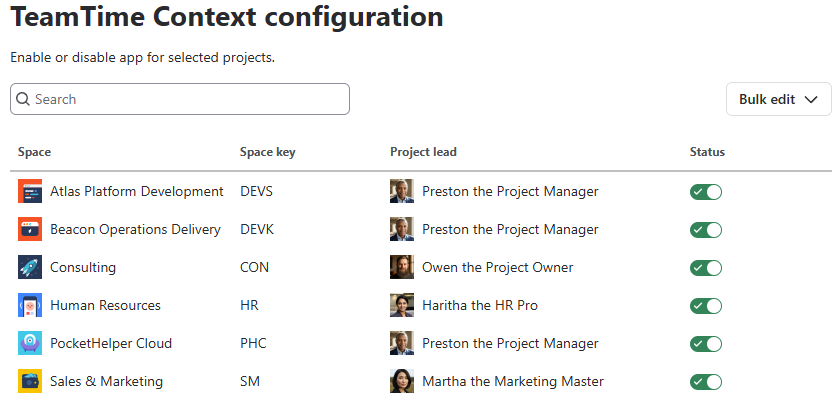
Individual space toggles
Beside each space name, you will find a toggle switch:
-
Switch On: Enables TeamTime features for that space;
-
Switch Off: Disables the app for that space.
To quickly locate the space you need to change the settings for, use the settings' search bar above the space list.
Bulk Edit option
If you are setting up the app for the first time or managing a large instance, you can use the Bulk edit feature in the top-right corner.
Click Bulk Edit, and a small pop-up window will appear.
Choose Enable all to activate the app for every existing space.
Choose Disable all to turn the app off everywhere.
Tip: For a targeted setup, use Disable all first, then manually toggle the switch back On only for the specific spaces that require reporting.
Saving your changes
When you modify configuration, Save and Cancel buttons will appear in the top-right corner of the screen, next to the Bulk edit option:
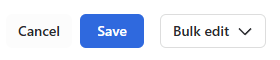
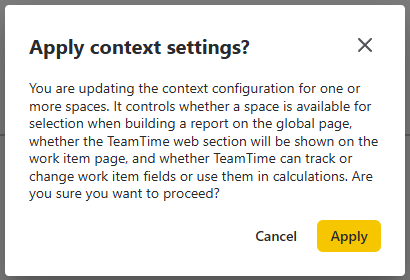
Click Save to apply your changes. You will be asked to confirm this action in a pop-up window by clicking Apply:
Click Cancel to revert to the previous settings.
Stay informed
Subscribe to get the latest updates and explore new product capabilities