.png)
Contacts Directory Configuration
CRM Directories can be configured according to your needs.
The basic configuration principles are the same for all type of directories:
the list of tabs for a particular directory entry
the list of attributes for the particular tab and their order
configuration of the particular attribute (if applicable)
specifying the entry card size
See Configuring CRM Directories for details.
The Contacts directory is provided by the app by default containing the demonstration settings and several entries.
There are several specific settings available for the Contacts directory. Let's look at them closer.
CRM Contacts to JIRA Users Synchronization
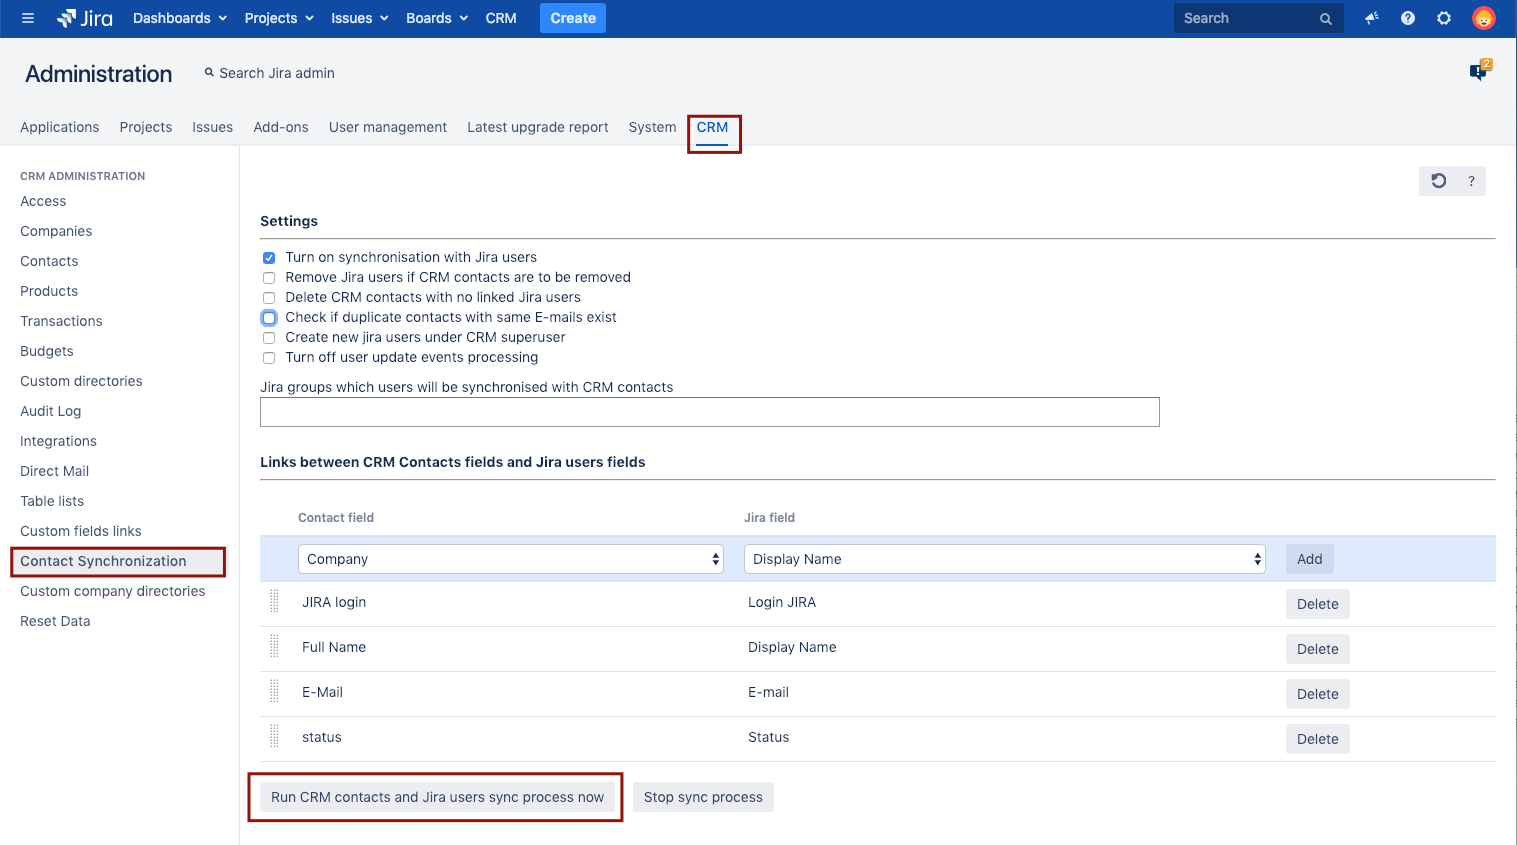
If you need the auto-determining of the company by issue reporter in some projects you should enable CRM contacts to Jira users synchronization. All existing JIRA users will be automatically imported to contacts and you will be able to edit their attributes.
Checkbox 'Turn on synchronization with JIRA users' enabled automatically creates new JIRA users after CRM Contact creation.
Note that the Email attribute becomes mandatory in case of contacts to users synchronization, even if it's not required in the CRM Contact settings
If you need to sync contacts created earlier or JIRA users that already exist and don't have a record in CRM Contacts Directory click on 'Run CRM contacts and JIRA users sync process now'.
The functionality of the "Delete CRM contacts with no linked Jira users" checkbox within the "Contact Synchronization" section is activated only when you press the "Run CRM contacts and Jira users sync process now" button.
You can limit the sync process by filling in 'JIRA groups which users will be synchronized with CRM contacts' with required groups. Contacts will be created for JIRA users only from selected groups if no groups listed contacts will be created for all JIRA users.
Warning! If you have JIRA administrator permissions you can delete a contact and a JIRA user if they do not have any issue reported or assigned in JIRA.
After switching on the synchronization you need to associate attributes of contact and a JIRA user. To do this -
Add three attributes (Full name, E-mail and JIRA login);
Associate it with these JIRA user's attributes. The plugin checks value uniqueness by the login.
Warning! If the synchronization is switched on all the changes applied to contact will also be applied to a JIRA user. New users will be added to jira-users group. Deleting contact or user is standard procedure. If a user has any reported or assigned issue - the system will not let you delete the user.
Create new JIRA users under CRM superuser enabled allows all users to create JIRA users on behalf of CRM superuser which is set on the Access Tab in CRM Admin menu.
New JIRA users created via CRM Contacts synchronization will be added to selected groups by default:

Select a group from the list and click 'Add'. You can add several groups or none of them. Groups can be deleted by clicking red 'X', then click 'OK' or 'Cancel' in the dialog.
Enable checkbox 'Send E-mail to a JIRA user after a connected CRM contact creation' to send an informational letter to new JIRA user on contact's E-mail address.
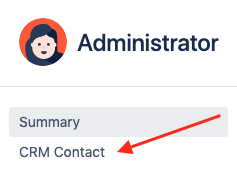
Note that a user will be able to browse their CRM Contact information regardless of the Contact Card View permissions. That rule works within Jira and Service Desk portal as well.
Making JIRA User Active/Inactive by Changing CRM Contact Status
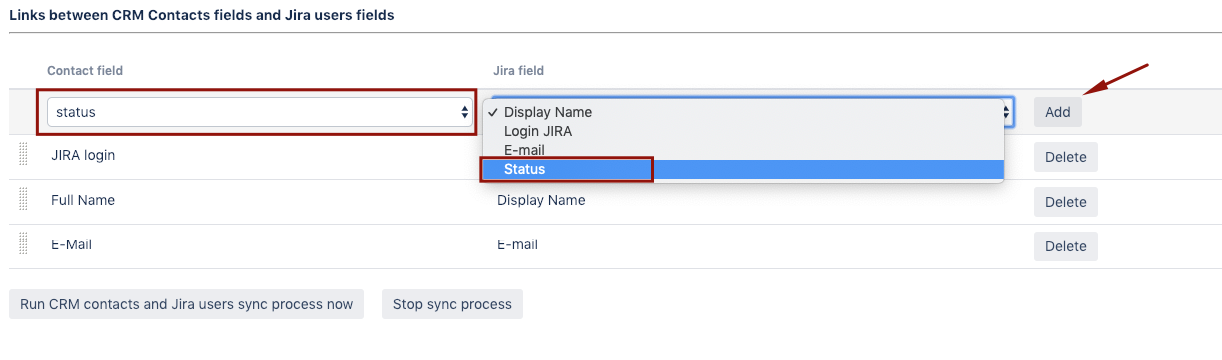
To synchronize CRM Contact's status with JIRA user status create new attribute Checkbox Type for contacts in CRM Administration/Contacts/Contacts Attributes as a status of contact. Next step is to link contact's status to JIRA user Status field.
While Status checkbox is checked, synchronized JIRA user is active in JIRA. If it is unchecked, the JIRA user becomes inactive and has no access to your system anymore.
Active / Inactive contacts
To display the card as an "Active" or "Inactive" Jira user:
Go to Administration\Plugins\CRM\Contacts;
Create a contact attribute of type "Checkbox";
Go to Administration\Plugins\CRM\Contact Synchronization
Link the Contact field to the Jira "Status" field
Contact Field Autocomplete Settings
You can set up the autocompletion of the CRM Contact fields with the value of Reporter field for a project. Tick the Read-only checkbox to make the CRM Contact's field value always the same as the Reporter's one. Otherwise, you will be able to change it according to its configuration (i. e. selecting from the list of CRM Company relevant contacts).
