.png)
Configuring CRM Directories
CRM Directories can be configured according to your needs.
The basic configuration principles are the same for all type of directories:
the list of tabs for a particular directory entry
the list of attributes for the particular tab and their order
configuration of the particular attribute (if applicable)
specifying the entry card size
See the section below for details.
CRM Entry Structure Setting Up
Add a tab.
Navigate to CRM Administration → <required directory> and add a new tab specifying the tab name.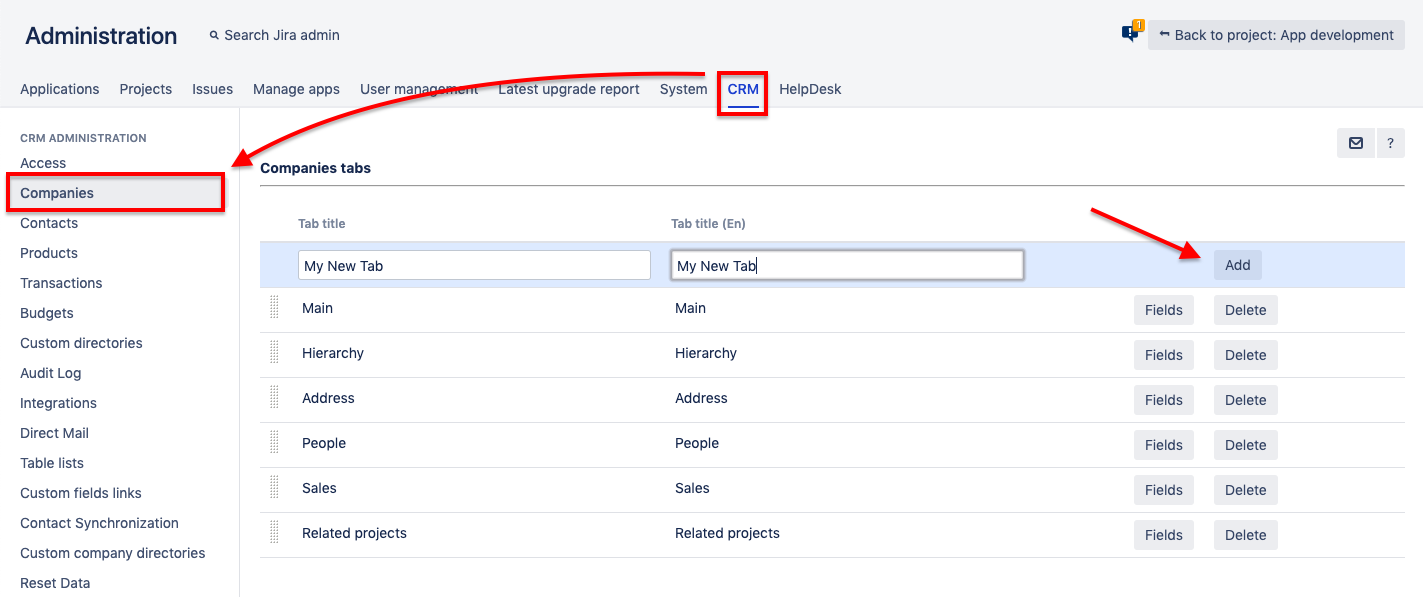
Define the tab's order among other ones.
Drag and drop the tab within the list of the tabs to define their order in the entry.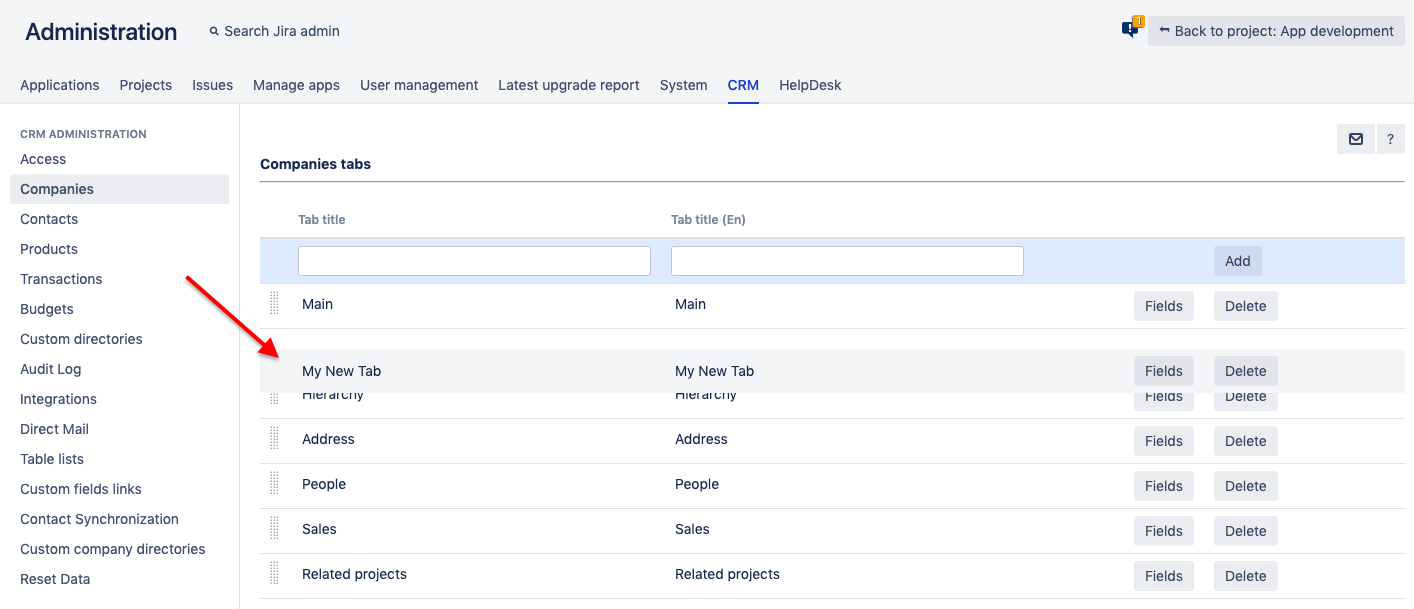
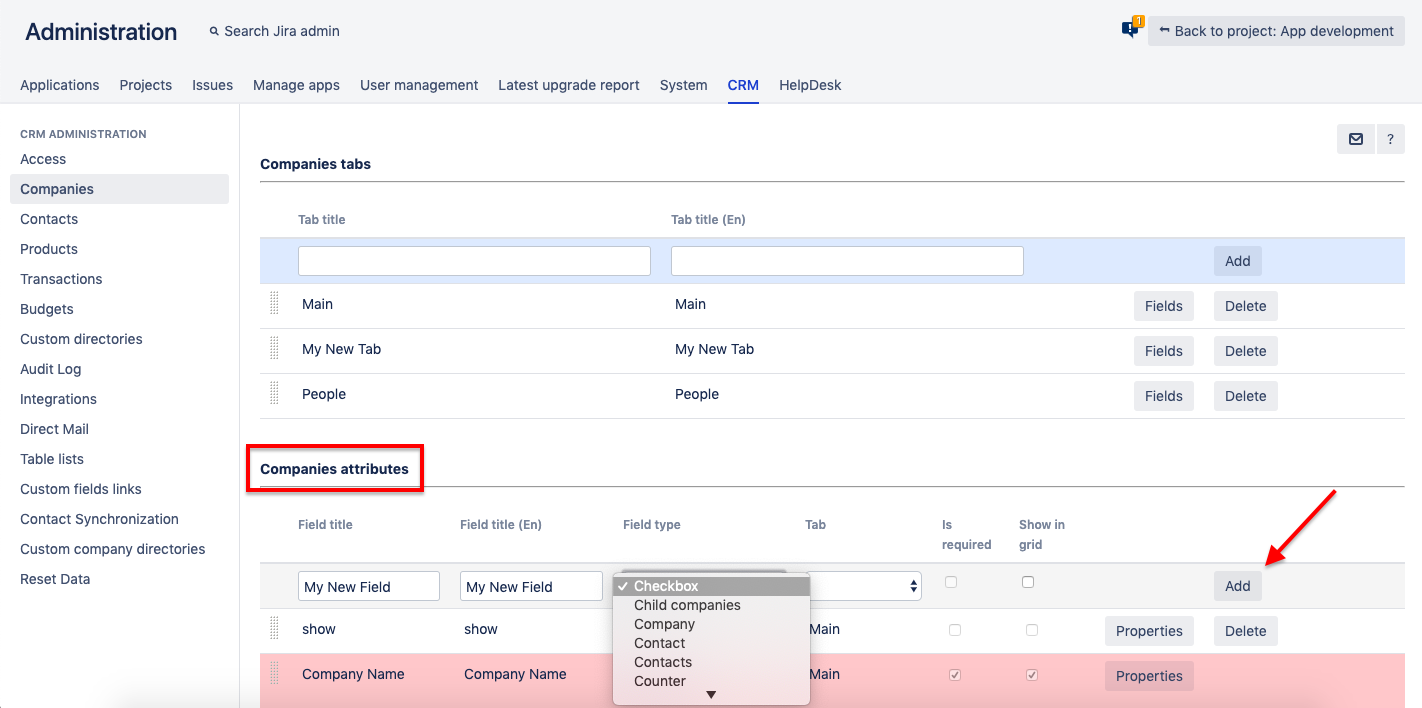
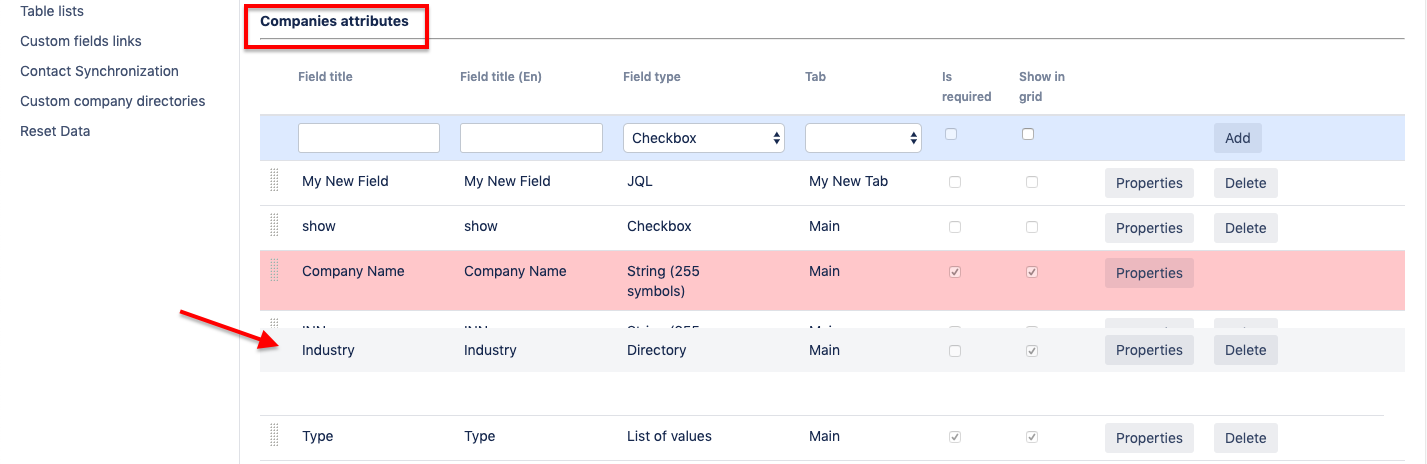
Add the attributes.
You should add an attribute to the list of attributes for the entry specifying its:
name
tab
mandatoriness
displaying as a column in the entries grid view
Configure the attributes.
Specify the attribute properties (if applicable) by clicking the Properties button next to the attribute.
Note that each attribute has a different combination of properties.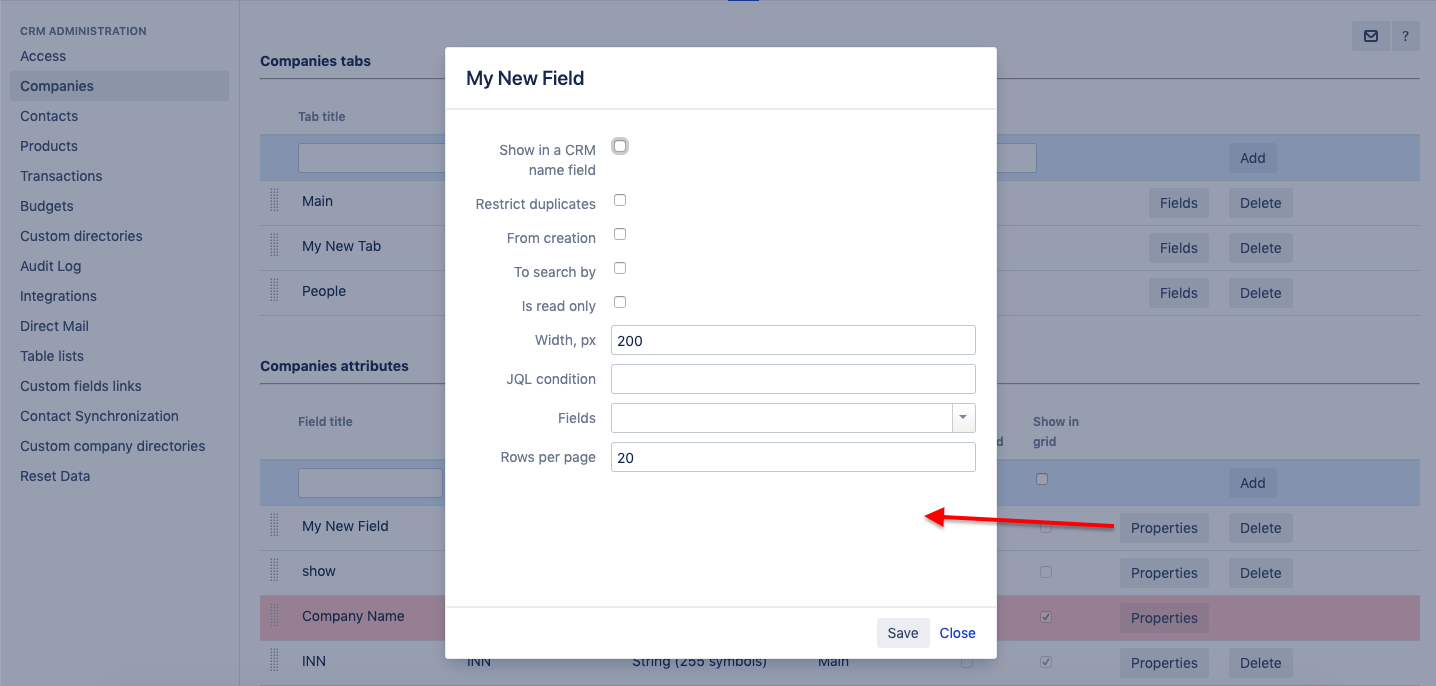
Specify the order of the displayed columns within the entries list grid view.
Drag&drop the attributes within the list of attributes.
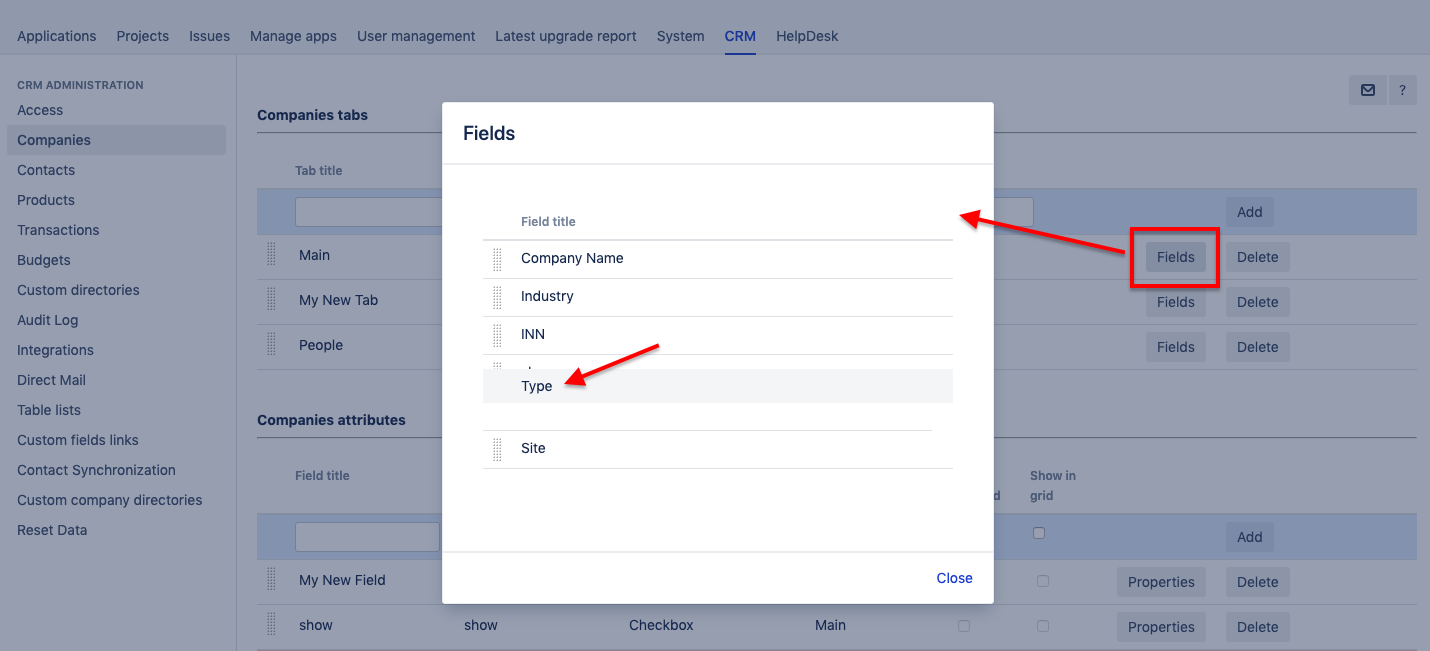
Specify the order of the attributes within a tab.
Push the Fields button next to the tab and drag&drop the tab fields to set their order within an entry tab.
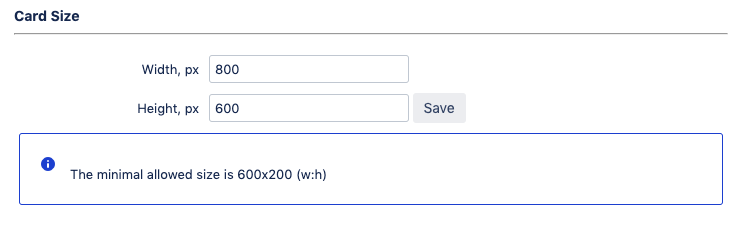
Specify the entry card size.
Your card may contain many attributes. Specify its size to make the card more convenient for users. The minimal allowed size – to find room to all predefined buttons – is 600x200 (w:h)
Directory-Specific Settings
However, there are some extra settings for the predefined directories. See the details in the relevant sections: