.png)
General Settings of Customer Area
Overview
The general settings of the Customer Area include the login and signup options and also some miscellaneous settings (to be replaced in a more suitable location soon).
They are located at HelpDesk Settings → Customer Area → General Settings.
Setting Up
Setting Name | Description |
|---|---|
Main | |
HelpDesk superuser |
Defining the HelpDesk superuser is required for the comprehensive HelpDesk using. This user (it's recommended not to use the real user account) should have the following rights in Jira: system administration, issues and comments creating and editing, files attaching. Notice that this user requires 1 Jira license. What this user is required for in particular? It 'transfers' all your customers' action on portals and via email handler to Jira since they don't have access to Jira. It also creates new users via handler if required. The superuser won't be able to perform actions via the Customer Area. It's restricted by the system, as technically all actions there are taken on their's behalf. To specify the superuser
 |
Projects accessible via Customer Area | Select issues of which projects should be accessible via Customer Portal. This setting also affects the following functionality:
|
HelpDesk Start Page | The section that will be shown first after login. The following options are available:
|
Login | |
Ability to log into Customer Area | Groups of users with access to the Customer Area. While setting up the Customer Area, grant access to the Jira admins before you are sure everything is ready. There is a checkbox 'Keep me logged in' at the authorization form. A user can check it to extend the session time up to your Jira session time. Otherwise, he/she will be logged out as soon as left the HelpDesk. |
Captcha after failed attempts (number) | The number of failed login attempts to request filling a captcha. |
Signup | |
Allow public signup |
Requires HelpDesk superuser to have Jira Admin permissions as new accounts will be created on behalf of this superuser. If checked, your customers will be able to create their own accounts via your Customer Area. Their abilities to login to the portal, to create and view issues are defined by their group, so the Groups for self-signed up users should be also specified. 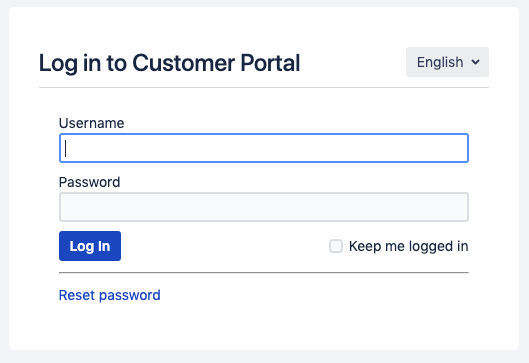 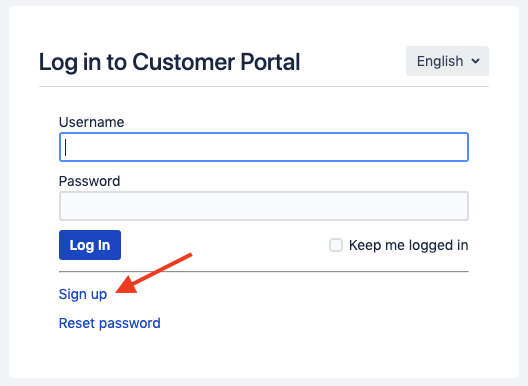 |
Signup captcha | If checked, a captcha will be requested on signup to prevent some unwanted activity. 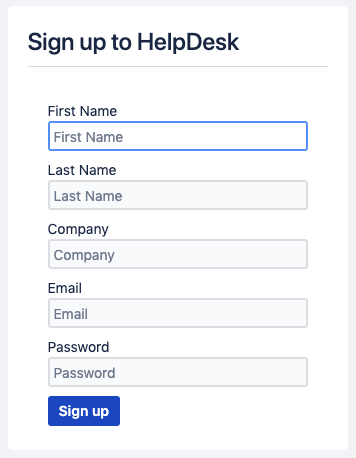 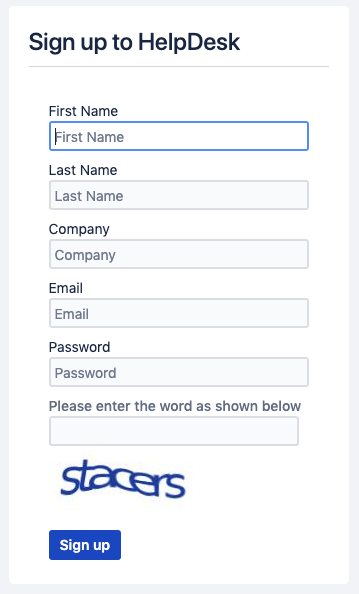 |
Don't request a company name on the signup form | While allowing public signup you'd probably want to know what company a new user works in. Of course, it wouldn't be secure to allow your customers to specify their organizations (if you use the CRM integration), still, you'd like to know some information about them to clarify. HelpDesk allows you to ask the company information at the authorization screen. This information won't lead to any changes in your CRM, it will just attach this information to the user full name: 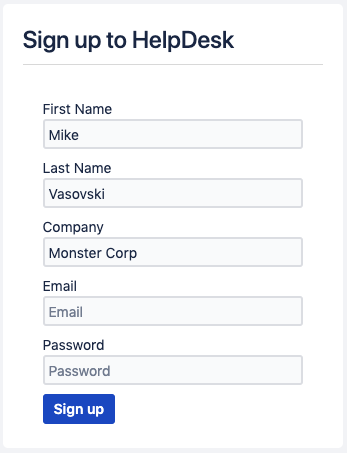 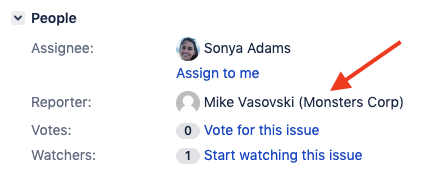 |
Redirect users with no rights to login to Jira to the HelpDesk login page | The Customer Area has its own authorization form. If you are giving your customers the address of your Jira instead, don't forget to note that login to the Customer Portal ≠ login to Jira. However, you can set up auto-redirecting to the portal for those users who don't have access to Jira. In case your customers are confused about two authentification options (the Jira one and the HelpDesk one), you can set up the auto-redirect those who have no access to Jira to HelpDesk (so the Jira authorization windowsill redirect them to the Customer Area).  |
Groups for self-signed up users | If the public signup is enabled, users will be able to create their accounts by themselves. Defining groups for your customers is intended to provide you an ability to set up your customers' permissions, such as the permission to log in to the Customer Area or permission to create particular types of requests. The HelpDesk app uses standard Jira groups functionality. While defining groups for the new users you should take into account all ways a new account can be created from, such as:
If you have different groups of customers and want to set up their permissions separately, you can use several groups for this purpose. But note that all accounts created the same way (from the same email handler or from the portal) will be added to the same groups and will get the relevant permissions (if any). |
Miscellaneous | |
Allow "old-style" request creation from the My Issues section | If checked, a customer will be able to create a request in any project/issue type skipping any settings but project permissions. The button that displays the request creation form is available within the My Issues section in case of portals inaccessibility for a customer. |
Allow to set attachments visibility | If checked, the Restrict attachments visibility will be activated. |
Log user actions with issues views and attachments downloads | If checked, the Jira logs will contain information about relevant user actions. |
Turn on the dynamic update of SLA fields | If checked, the SLA custom fields will be automatically updated without page refresh. |
Turn on the filtering of [cid:] messages from comments | Jira uses to manage the comments come from Outlook the following way:
That's why you can see something like that in the comment: 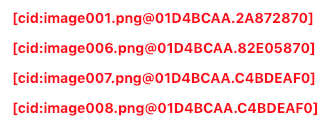 Check to avoid those markups in Jira. |
Source field | There are several ways an issue can be created:
To distinguish these sources, you can create a custom Select List field for the source specifying. There is a special setting that will automatically populate the selected field with relevant values:
Create a new custom field of Select List (single choice) type, add it to the view screens, add the option – Jira – and make it default. After setting that up you will be able to get the statistics of the issues creation channels. You can use this information as one more dimension for various reports. 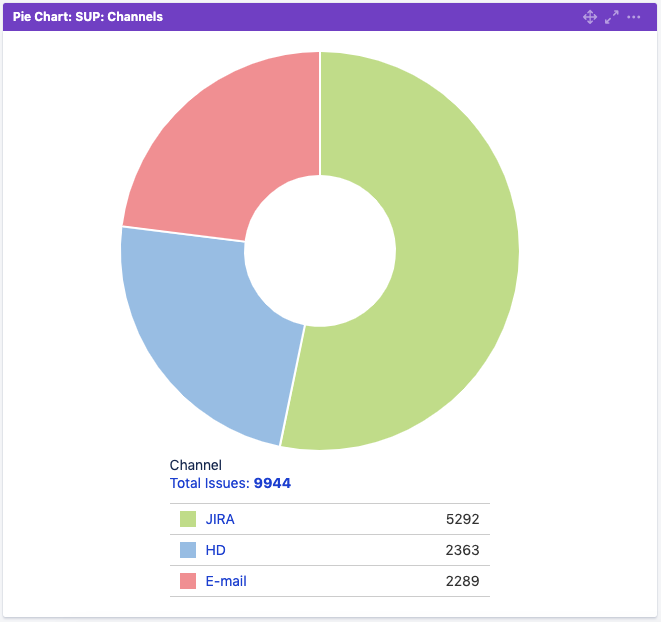 |
Export encoding | Select the export/import format for the requests. UTF-8 and Cp1251 encoding types are available. |
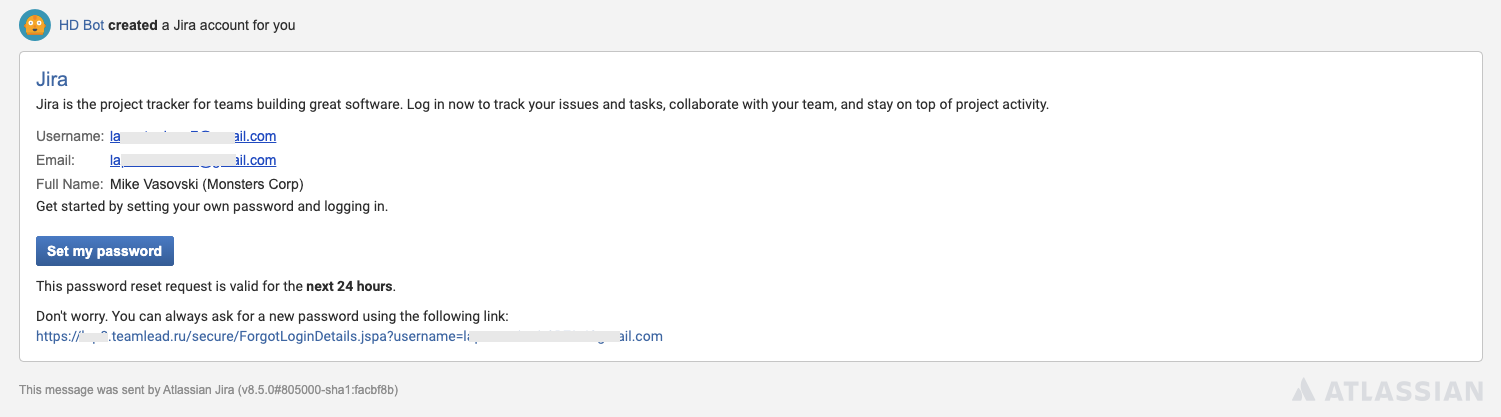
Notification on a new user creation
A newcomer will get the standard Jira message upon new account creation and will be able to set their password by pushing the relevant button: