.png)
Calendars (SLA 2.0)
Setting Up
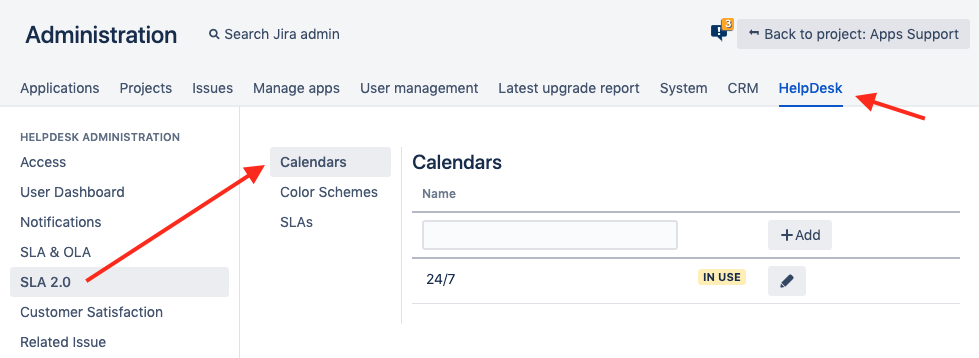
Jira Administrator can manage the working calendars Jira Administration → HelpDesk → SLA 2.0 → Calendars.
Creating a Calendar
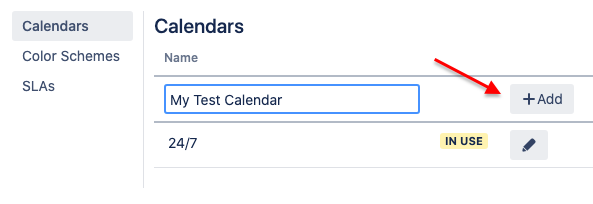
1. Specify the calendar name and click Add – a new calendar will appear.
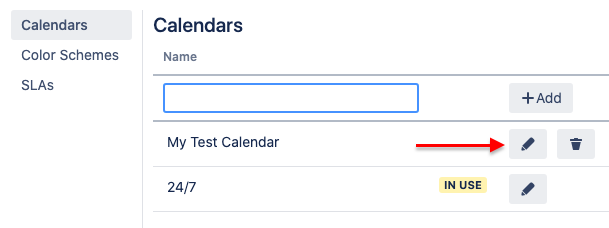
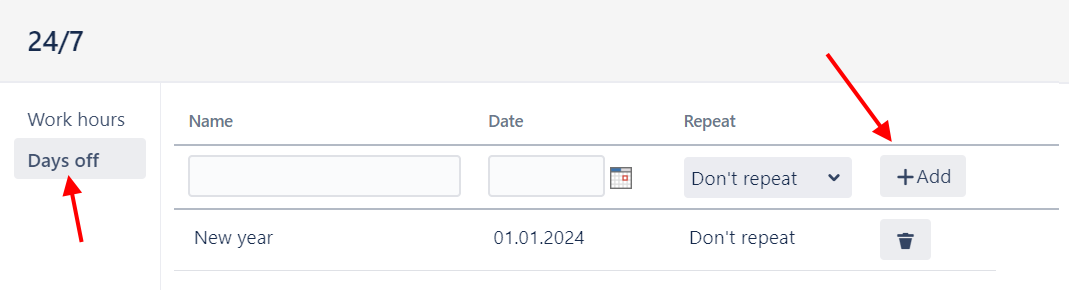
2. Select the Edit button to set up the work hours schedule and the Days off, if required.

Working hours are calculated as follows:
The start of the working day is determined by the earliest time added, and the end of the working day is determined by the latest time added.
Example: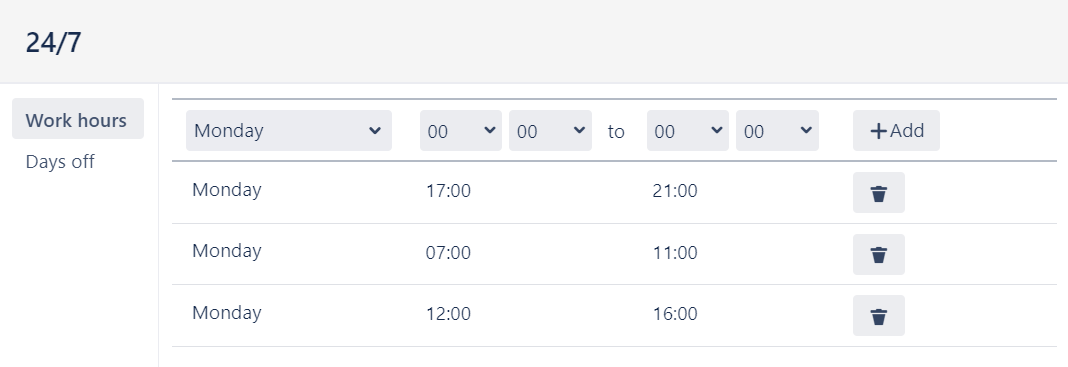
Here on Monday, the working day starts at 07:00 and ends at 21:00. The breaks are from 11:00 to 12:00 and from 16:00 to 17:00.
The specified intervals must not overlap: if you select a time period in the that is already used (partially or completely) and try to add it, you will see an error message “The selected time period overlaps with an existing one. Please choose a different time frame.”
If no time frame is added, the 24/7 rule applies.
If at least one time frame is added, this time frame will be considered as Work hours.
Default Calendar
To get you started, HelpDesk comes with a default 24/7 calendar. You can change it if required.
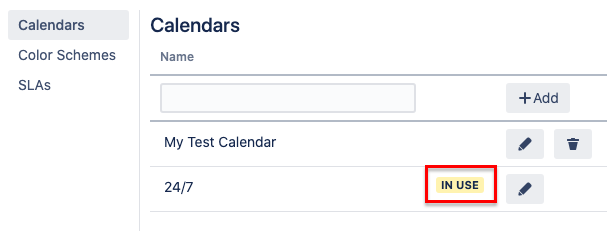
IN USE Parameter
It's great to know if the entry is being used before changing it. The IN USE parameter displays if there are any SLAs using this calendar (specifically if the calendar is selected in SLAs settings). You should change the calendars in use carefully (it may lead to SLAs recalculating in issues). The calendars in use cannot be deleted.