.png)
Creating calendar
Welcome to the beginning of our user guide for the Calendar for Jira app!
In an order to start using our app, please navigate to the apps menu inside Jira and click on the app’s name:
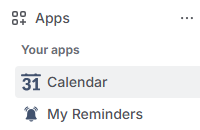
Jira apps - Calendar for Jira app
Once you open our app, you will be greeted with this screen:

Create Calendar - You don’t have any calendars
Fear not, creating the calendar within our app is very easy as long as you follow our guidance. 🙂
To create your first calendar using Calendar for Jira app, navigate to the sidebar on the right of the main screen and click the Create button.
Create Calendar - Click the create button
This action will open the calendar creation window.
Main
In this section, you will configure the initial settings for your new calendar. Please note, you will have access to more advanced options after the calendar is created!
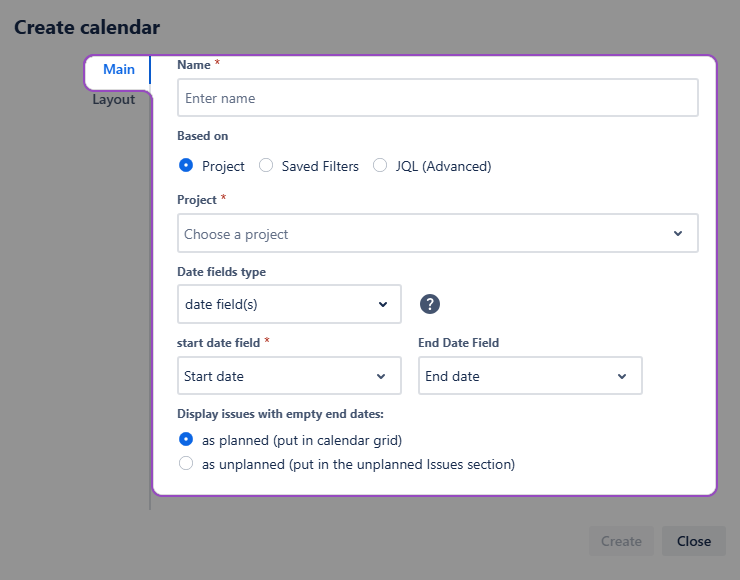
Calendar creation - Main
Name
We recommend naming your calendars by their main purpose to make the navigation in the future easier. If you need to share your calendar with your colleagues, a concise name will definitely save their time.
Based on
Our app allows you to create calendars based on various source types.
If you choose a Project option, you will be able to select one or more projects using the ☑️checkbox. The Calendar for Jira will display all issues with populated date fields from the selected projects on the calendar grid. Undated issues will appear in the Unplanned issues section.
Note: You will only see issues that you have permission to view.
Saved Filters option allows you to base your calendar on previously defined filters. Any changes made to these filters will automatically update the calendar.
Note: Ensure that these filters are shared with your team members for proper functionality.
Lastly, the information displayed in the calendar can be selected using Jira Query Language, or JQL. This option offers great flexibility and doesn't require any prior setup.
Note: We advise using a single line for the JQL input for optimal performance.
Date fields type
The placement of the issues on the calendar depends on the date field type you choose.
Due date option arranges the issues by the dates they are due. In this case, each issue will occupy a minimal time slot on the calendar grid.
Note: Due date is a system field and requires a Schedule Issue permission to edit—it includes dragging the issue onto the calendar grid and moving it across the grid.
Date field(s) option allows you to define how issue duration is displayed.
You can choose to use both a Start Date and an End Date. When you do, each issue will span the time between the two fields you select.
Alternatively, you can choose to use only a Start Date. In this case, issues will be placed on the calendar grid as a minimal, single-day time slot.
When you select an End Date field, you can also configure your calendar to handle issues that are missing this field. You can either choose to display them on the calendar grid with a minimal time slot or to collect them in the Unplanned issues section for later scheduling.
This option works best for the standard calendar view where the precise time frames are not specified.
Certain calendar views specify the time frames regardless of the date field type you choose. In those views, the issues will be displayed in all day section of a calendar if you use Date field(s) option.
Date-Time field(s) option is similar to the Date field(s) option, but uses Date-Time Picker fields for greater precision.
There are three ways you can utilize the Date-Time fields in our Calendar for Jira app:
Set both the start and the end date-times—this will allow the issue to be displayed throughout its duration on the calendar, regardless of the view.
Set only the start date-time—this way you can mark the beginning of an issue which has no set deadline.
Set only the end date-time—in this case, the date-time field will act similarly to the Due field, marking the deadline in a more precise manner.
Embedded dates are custom date pickers provided by our app. If the issue creation or issue edit screen don’t include proper date or date-time fields, and there is no possibility to change that (due to the required admin rights or it is not currently a priority) you can use embedded dates instead and access our Calendar for Jira app features instantaneously.
The embedded dates are located within the issue context section. Here, you can either provide a specific date and time for the issue or select the All day option, which indicates the work item will be active for the entire day.
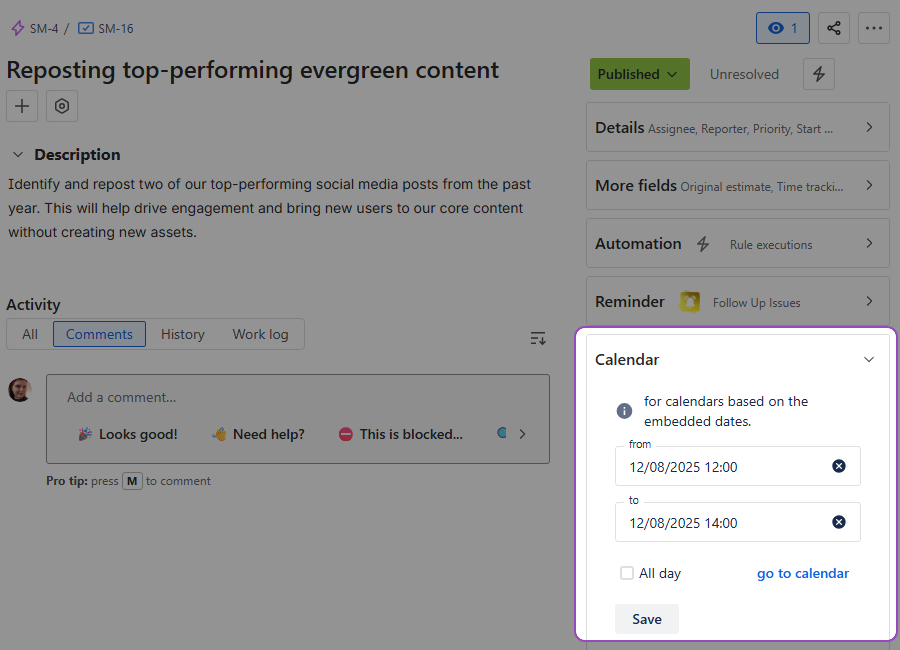
Calendar creation - Embedded dates
Upon installation, our Calendar for Jira app automatically creates Start Date-Time and End Date-Time custom fields within your Jira settings, which you can then incorporate into your project's screen configurations.
Until this configuration is complete, Embedded dates provide a temporary way to place issues onto the calendar grid. Please note that regardless of the method used, you will still need the appropriate permissions to edit the issue in order to modify its dates.
Layout
Customize the appearance of your calendar using the layout settings:
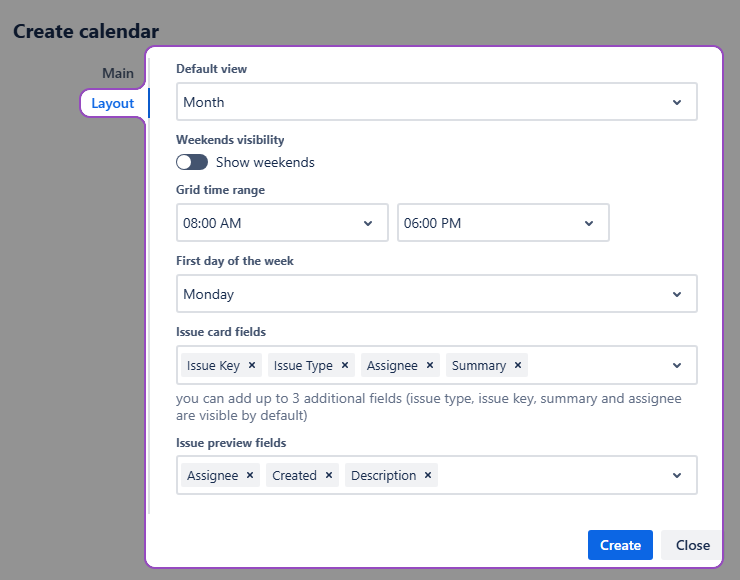
Calendar creation - Layout
Note: You can access layout settings once the required fields of the Main tab are filled out.
Default View
Default view option lets you choose what your calendar looks like every time you open it. Year, Month, Week and Day options describe the standard Calendar grid options with a different scale, meanwhile Timeline options exist for the chart-like calendar display.
Weekend Visibility
Weekend visibility simply lets you hide the weekends if you wish to do so.
Grid Time Range
Grid time range option allows you to adjust the time frames displayed in the calendar views of the week and day zoom options.
First Day of the Week
First day of the week allows you to choose either Sunday or Monday as the first day of the week.
Issue Card & Issue Preview Fields
Issue card fields and issue preview fields options allow you to customize the information displayed on the card (the basic calendar view) and the preview (when you click the issue).
Note: By default, issue cards display the issue type, issue key, summary, and assignee.
Once you’re satisfied with your calendar’s settings, click Create.
Congratulations, you’ve created your first calendar using our Calendar for Jira app! It will automatically appear in the Calendars section of the right-side menu. This section shows your Favorite calendars—select which calendars you would like to see here by marking them with a star in Manage calendars menu.