.png)
Calendar Gadget for Dashboards
Are you a Jira Dashboards user? If so, we have great news!
The Calendar for Jira app features a Calendar Gadget that you can add directly to your dashboards for quick access. To get started, follow the instructions below.
Adding the Gadget
Access your dashboards from the left-hand sidebar in Jira.
Can’t find the Dashboards menu? Be sure to check the …More option at the bottom of your sidebar—the link might be tucked away there.
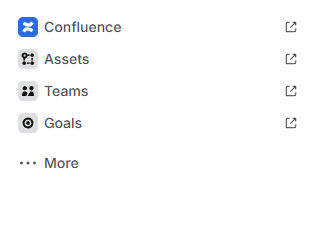
Calendar Gadget - Locating dashboards
Once you’re in Dashboards, select the specific dashboard where you’d like to add the gadget, or create a new one. Click Edit in the top-right corner of the dashboard screen:

Calendar Gadget - Editing the dashboard
Upon entering the dashboard settings, click Add gadget. Then, in the search field on the right side of your screen, search for Calendar gadget by Teamlead:
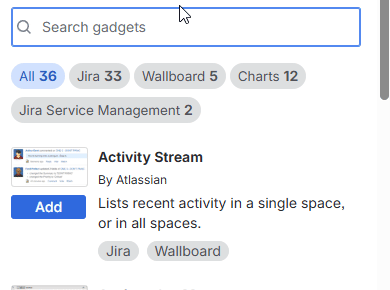
Calendar Gadget - Adding the gadget
Note: Make sure to select the gadget specifically from our app. 🙂
Click Add, and the gadget will automatically appear in the first available slot on your dashboard. If you need it elsewhere, simply click the handle in the top-left corner of the gadget and drag it to your preferred spot.
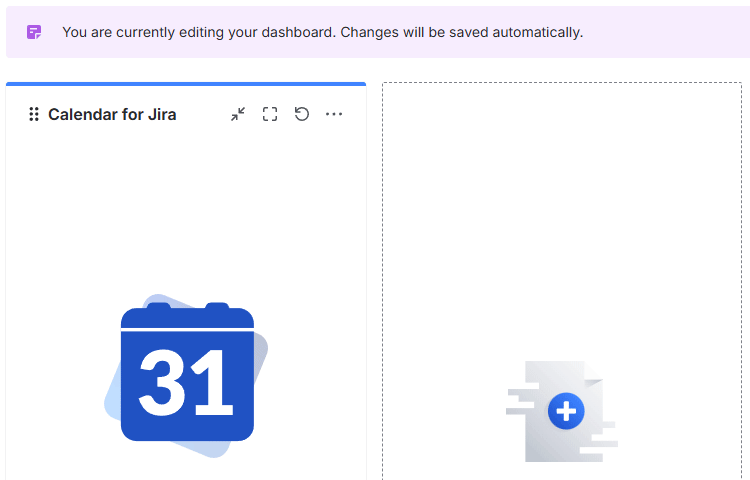
Calendar Gadget - Moving the gadget
Once you’ve added the gadget, you will see a Configure button—click it to select your preferred calendar and its view.
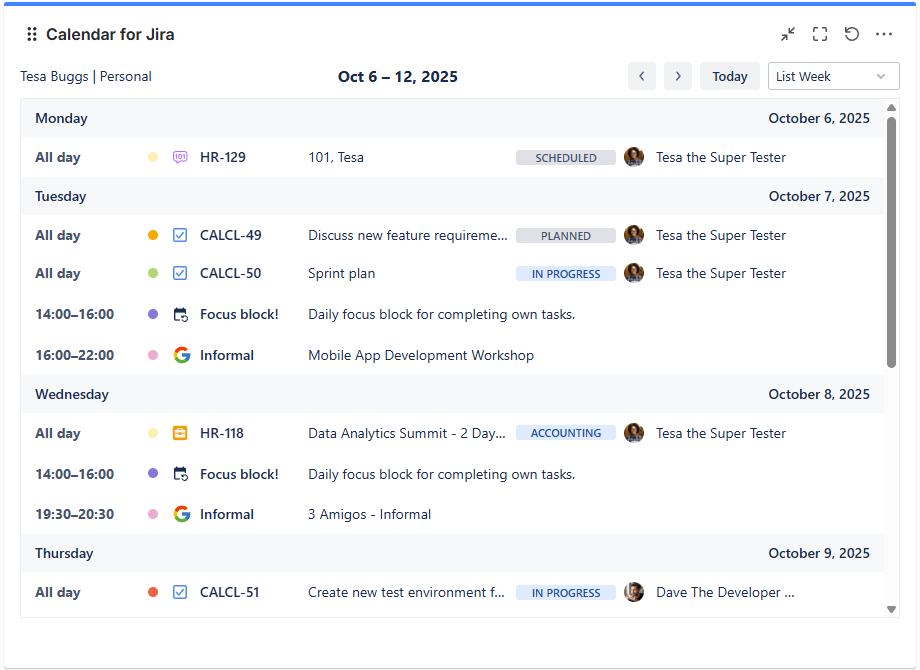
Once the gadget is configured, you can click Save to apply the settings, which the gadget will display live:
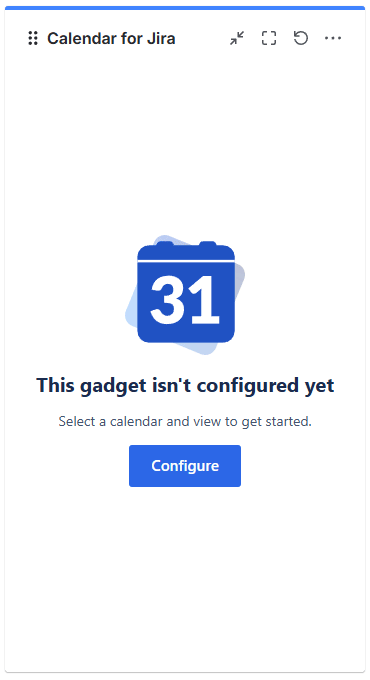
Calendar Gadget - Configuring the gadget
Click Done in the top-right corner of the dashboard to apply your changes to the entire dashboard.

Calendar Gadget - Applying the changes
Congratulations! You’ve added the gadget to your dashboard.
Tip: Like any Jira gadget, you can add the Calendar Gadget multiple times. Each instance can display a different calendar, allowing you to monitor multiple schedules at once.
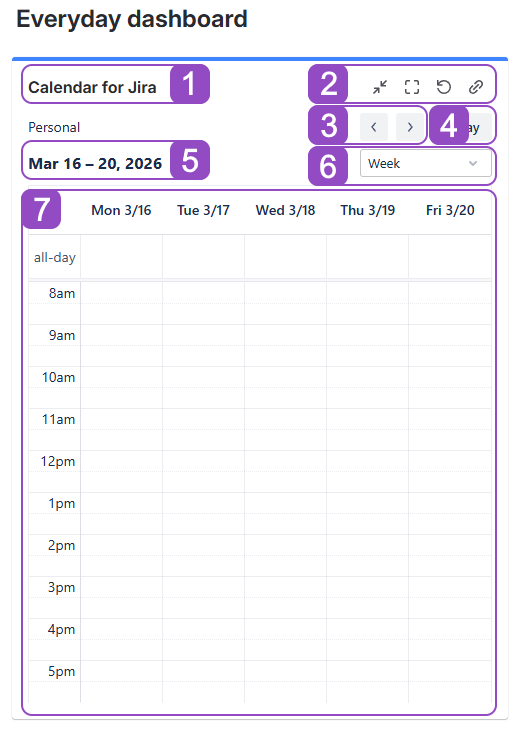
Main UI components
Let’s go over the primary components of the gadget.
Calendar Gadget - Quick overview
Calendar name: Displays the name of the calendar selected in this gadget.
Jira controls: These are the standard controls found on any Jira gadget. Use these to minimize, view in full-screen, refresh data, or copy a link to the gadget’s current state.
Navigation arrows: Move through the calendar to find the specific timeframe you need.
Today button: Quickly jump back to the current date.
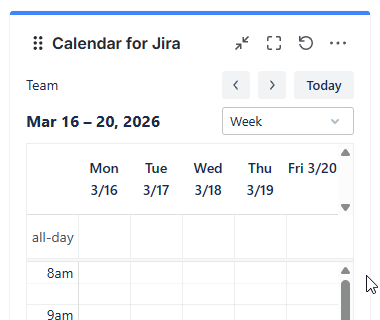
Date: Displays current month, week or date, depending on your view.
View picker: Select the best-fitting view for your current needs here.
Calendar grid: View your scheduled activities here.3
Optimizing you view
If you aren't satisfied with how the calendar looks (for example, if the view feels too narrow), or you’d like to change the calendar displayed in your gadget, we have a couple of solutions.
Adjust your Dashboard Layout
Depending on the calendar view you choose, the gadget may require more screen space. This is especially true for Month, Year, or Timeline views. To adjust your dashboard layout for a better fit, follow these steps:
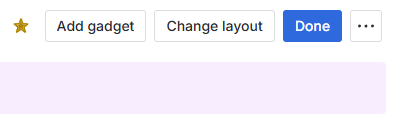
Click the Edit button in the top-right corner of your screen to enter the dashboard configuration mode.
Calendar Gadget - Accessing dashboard settings
Locate and click the Change layout button in the top-right corner of your screen. A pop-up menu will appear with various column configurations; select the one that best suits your needs.
Calendar Gadget - Changing the dashboard layout
Click Done to apply your changes.
Switch Views
If changing the layout isn’t an option, you may want to select a different view for your calendar. You can experiment with different views directly within the gadget by clicking the view picker. These are the same views available in the full Calendar for Jira app.
Note: Changing the view directly in the gadget is temporary. Once you refresh the page, the gadget will revert to the default view selected during configuration.
To permanently change the gadget’s default view, follow these steps:
Click the Edit button in the top-right corner of your screen to enter dashboard configuration mode.
Calendar Gadget - Accessing dashboard settings
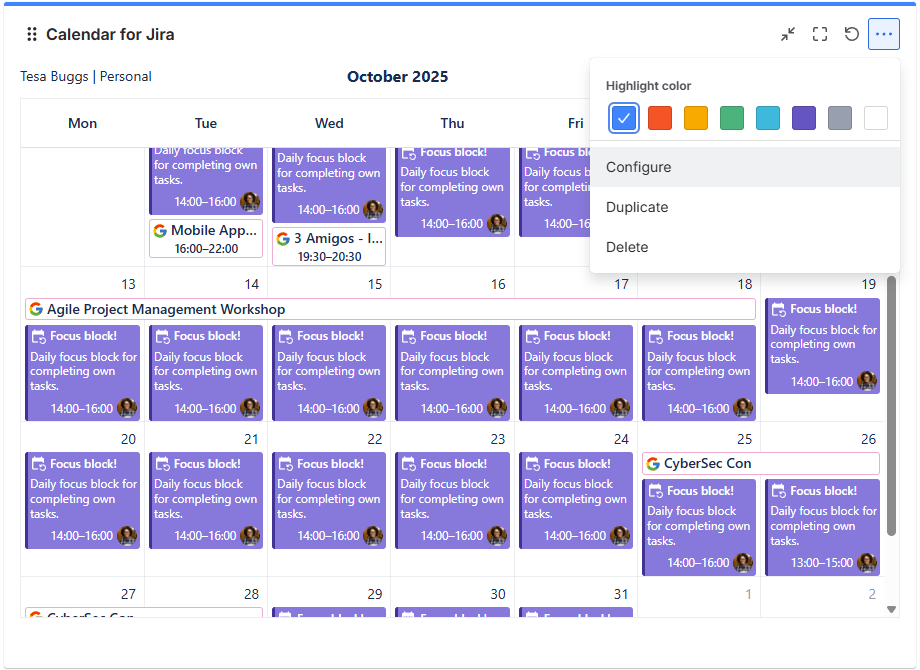
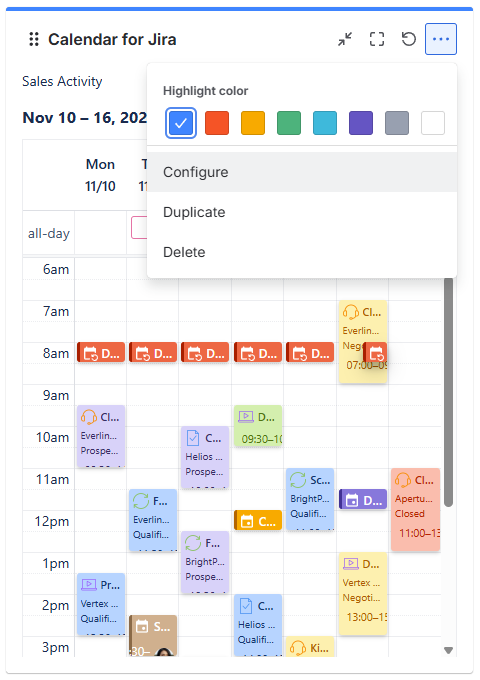
Locate the options (…) button in the top-right corner of the gadget, click it, and select Configure. This will take you back to the gadget’s settings.
Calendar Gadget - Accessing the gadget’s settings
Select your preferred default view from the dropdown menus.

Calendar Gadget - Switching the view
Tip: The List view is the most compact and effective option for smaller gadgets or narrow columns.
Click Save within the gadget, then click Done in the top-right corner of your screen to apply the changes to your dashboard.
Calendar Gadget - Applying the changes
Calendar gadget - Gadget after the changes
By experimenting with different layouts and views, you’ll find the configuration that best suits your workflow!
Change the Gadget’s Calendar
Similarly to switching the default view of your calendar gadget, to change the calendar displayed in the gadget you need to navigate to its configuration screen. To do so, follow these steps:
Click the Edit button in the top-right corner of your screen to enter dashboard configuration mode.
Locate the options (…) button in the top-right corner of the gadget, click it, and select Configure. This will take you back to the gadget’s settings.
Calendar Gadget - Accessing the gadget’s settings
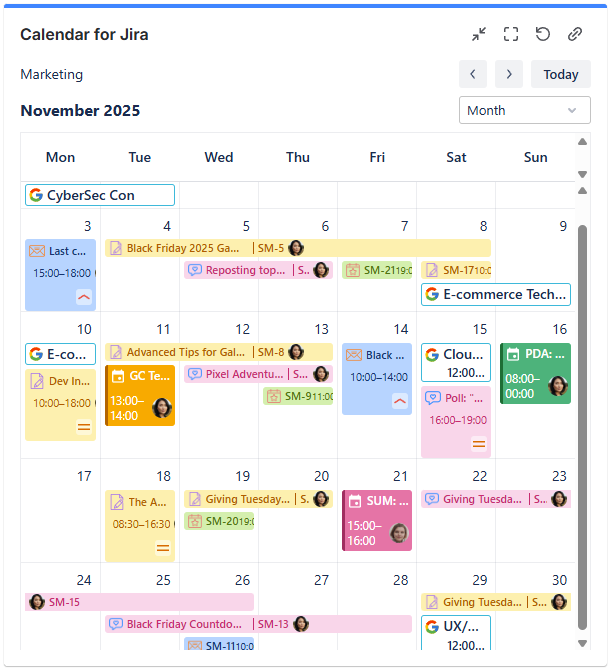
Select your preferred calendar from the upper dropdown menu. In this example we will change the default view as well. 🙂

Calendar Gadget - Changing the gadget’s configuration
Click Save within the gadget, then click Done in the top-right corner of your screen to apply the changes to your dashboard.
Calendar Gadget - Gadget after the change
Removing the Gadget
If you no longer need a specific calendar gadget on your dashboard, you can remove it in just a few clicks:
Click the Edit button in the top-right corner of your screen to enter dashboard configuration mode.
Calendar Gadget - Accessing dashboard settings
Locate the options (…) button in the top-right corner of the gadget, click it, and select Delete.
Calendar Gadget - Deleting calendar
A confirmation window will appear:
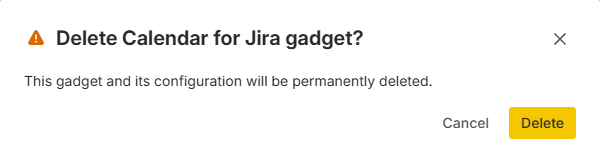
Clicking Delete will immediately remove the gadget from your view.
Click Done in the top-right corner to save and apply the changes to your dashboard.
Calendar Gadget - Applying the changes
Sharing your dashboard
You can share your dashboards with other users, and they will see the same calendar configurations you’ve set up—but only if those calendars have been shared with them within the Calendar for Jira app. Please refer to the Sharing your calendar page of our documentation to learn how to manage permissions.